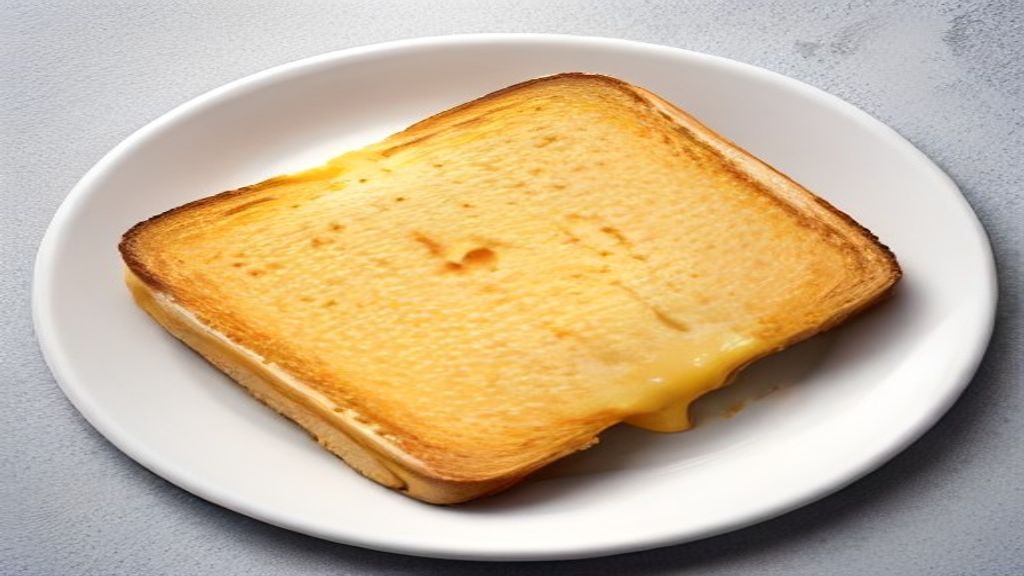
I used to crank the burner to high because I was always in a rush to get lunch on the table. My kids ended up with bread that was charred black on the outside while the cheddar inside was still cold and stubborn. This kid friendly grilled cheese recipe relies on a steady, medium-low heat to ensure the bread toasts evenly without burning. You’ll end up with a sandwich that is toasted to a deep golden brown with a crisp, buttery texture, while the cheese is fully melted, stretchy, and oozing from the sides.
Quick Answer: A kid friendly grilled cheese recipe is made by spreading softened butter on one side of two bread slices, placing cheese between them, and cooking in a preheated skillet over medium-low heat until the bread is golden and the cheese melts.
Patience is the real secret here. By keeping the temperature low, the bread develops a satisfying, audible crunch that contrasts with the soft, gooey center. It’s the kind of [simple comfort food → classic lunch ideas] that makes everyone happy at the table. You’ll see the cheese start to bubble and pull away from the edges, signaling that it’s ready to serve.
Ingredients
I always grab a loaf of standard white sandwich bread because the soft, uniform crumb toasts evenly without those sharp edges that usually cause kids to complain.
- 4 slices white sandwich bread
- 4 slices mild cheddar cheese
- 2 tablespoons unsalted butter, softened
Before You Start
Make sure your butter is actually soft before you begin. If it’s straight from the fridge, you’ll end up tearing the bread while trying to spread it, which is just frustrating. You can leave it on the counter for twenty minutes, or if you’re in a rush, pop it in the microwave for five seconds.
If you want to experiment with different cheese blends, just remember that mild cheddar is the gold standard for this specific sandwich. You could try American cheese for that classic, gooey pull, but it lacks the sharp tang that cheddar brings to the table. Avoid the pre-shredded bags if you can. They contain anti-caking agents that stop the cheese from melting into that smooth, cohesive layer we’re aiming for. Stick to the block or slices, and you’ll be much happier with the final result.
How to Make the Ultimate Toasted Cheese Sandwich
Prep: 5 mins · Cook: 5 mins · Total: 10 mins · Serves: 2 sandwiches
Step 1: Prepare the workspace
Grab a 10-inch non-stick skillet. Using a pan that fits both sandwiches comfortably without crowding is key, as cramming them in prevents the bread from crisping up evenly. You’ll want to have your softened butter and cheese slices ready on the counter so you aren’t scrambling once the heat is on.
Step 2: Butter the bread
Take your softened butter and spread it edge-to-edge on one side of each of the four bread slices. Don’t go overboard here; a thin, uniform layer is all you need to get that deep golden color. If you pile it on too thick, the bread will just turn into a greasy, soggy mess instead of getting that satisfying crunch.
Step 3: Assemble the sandwiches
Lay two slices of bread butter-side down on your cutting board. Place two slices of cheddar on each, then top with the remaining bread, butter-side facing up. This ensures the butter hits the hot pan directly, which is the secret to achieving that perfectly toasted crust without burning the exterior.
Step 4: Pan-sear the sandwiches
Set your skillet over medium-low heat. Once the pan is warm, place the sandwiches inside. You’ll see the butter begin to melt and soak into the bread almost immediately. Let them cook undisturbed for about 3 minutes. You’ll know they are ready to flip when the underside turns a deep, uniform golden brown and feels firm to the touch.
Step 5: Flip and finish
Carefully flip each sandwich with a wide spatula. The second side usually cooks a bit faster, so keep a close eye on it. You are looking for that same deep golden color on the bottom. Once the cheese is fully melted and starting to ooze from the edges, remove the sandwiches from the heat. The bread should be crisp and hold its shape perfectly when you pick it up.
Troubleshooting
| Problem | Cause | Solution |
|---|---|---|
| Bread is dark but cheese is cold | Heat is too high | Lower the flame and cover the pan |
| Bread is greasy and soft | Too much butter used | Apply a thinner, even layer to the bread |
| Cheese isn’t stretching | Not enough heat time | Wait for the edges to ooze before flipping |
Tips for Getting It Right
If you find your bread is browning faster than the cheese can melt, don’t panic. Just slide a lid over your skillet for the first minute or two of cooking. This traps the heat and helps the cheddar reach that gooey, stretchy consistency without turning your crust into charcoal.
Always keep your butter at room temperature before you start. Trying to spread cold butter on soft white bread is a recipe for tearing the slices into pieces. If you forgot to take it out, just slice it into tiny slivers and let them sit on the bread for a minute; they’ll soften up quickly enough for you to spread them evenly.
Variations Worth Trying
If you want to change things up, try using a slightly thicker cut of white bread to give the sandwich more structure. You can also experiment with the order of the cheese slices. Placing one slice of cheddar directly against each piece of bread helps create a stronger bond, which makes the sandwich hold together better when you take that first bite.
Frequently Asked Questions
How do you make a grilled cheese sandwich for kids?
The secret is keeping the heat steady and the ingredients simple. Use a mild cheddar that melts reliably and make sure your butter is spread all the way to the edges of the bread. This ensures every bite has that satisfying crunch that makes the meal feel special.
What is the best cheese for a kid friendly grilled cheese?
Mild cheddar is the gold standard here because it melts into a smooth, stretchy texture that isn’t too sharp for younger palates. It provides that classic flavor profile without being overwhelming, and it pairs perfectly with the crisp, buttery exterior of toasted white bread.
How do you get grilled cheese perfectly golden brown?
You need to be patient with your heat settings. By keeping the skillet on medium-low, you give the butter enough time to toast the bread slowly and evenly. If you rush the process with high heat, you’ll end up with burnt bread and cold, solid cheese inside.
Can you make grilled cheese in a pan without burning it?
Absolutely, as long as you don’t walk away from the stove. Stay close and watch the color of the bread closely. Once it hits that deep golden hue, it’s ready to flip. If you’re worried about the timing, remember that the second side always cooks faster than the first one.
This version focuses on the ‘medium-low heat’ technique to ensure the bread toasts evenly without burning, guaranteeing a perfect melt for picky eaters.
Main Ingredients
- 4 slices white sandwich bread
- 4 slices mild cheddar cheese
Seasonings & Extras
- 2 tablespoons unsalted butter, softened
- Step 1: Set out a 10-inch non-stick skillet and gather your bread, cheese, and butter.
- Step 2: Spread a thin, even layer of softened butter onto one side of each bread slice.
- Step 3: Place two slices of cheese between two pieces of bread, buttered sides facing out.
- Step 4: Place the sandwiches in the skillet over medium-low heat and cook until the bottom is golden brown.
- Step 5: Flip the sandwiches and cook the other side until golden and the cheese is fully melted.