I spent three mornings straight scraping raw, gummy banana mush off my non-stick pan before I realized I was treating bananas like eggs. This kid friendly banana pancake recipe uses a specific flour-to-banana ratio that prevents that common, rubbery center issue. You’ll end up with a golden-brown exterior with a slightly crisp edge, plus a light and airy interior that is moist from the mashed banana. The kitchen fills with the sweet, warm scent of caramelized fruit.
Quick Answer: Kid friendly banana pancakes are made by whisking mashed ripe bananas, eggs, milk, and vanilla with flour, baking powder, and sugar. Cook spoonfuls of batter on a greased skillet over medium heat until golden brown on both sides for a fluffy texture.
Most people treat fruit like a liquid, but it actually needs a sturdy structure to hold up in the pan. By balancing the mashed fruit with just enough flour, you get a pancake that stays together without turning into a puddle. If you need more breakfast ideas to round out your weekend, this simple method is a reliable place to start.
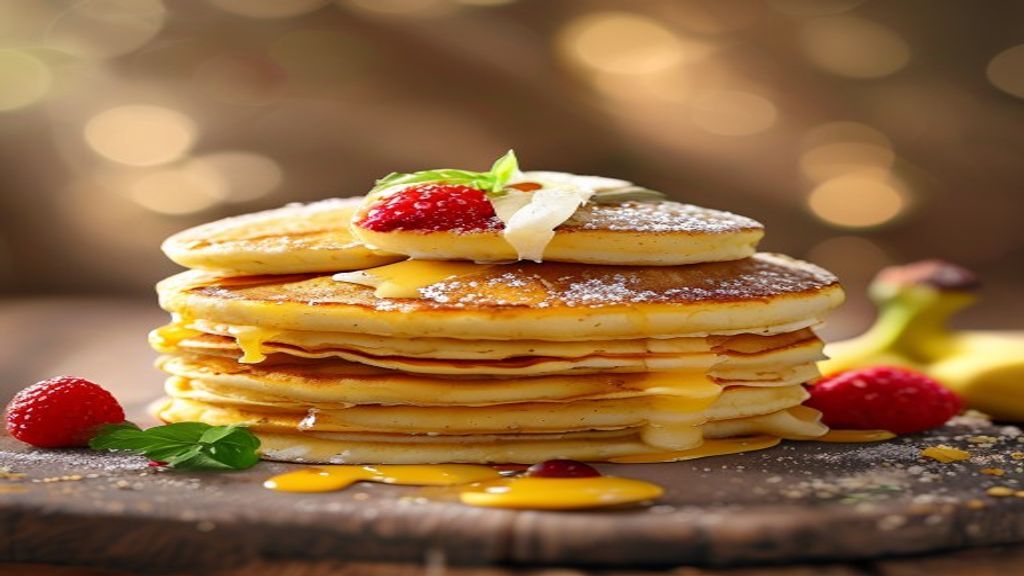
Ingredients
I always grab the bananas that are covered in brown spots because their natural sweetness makes this kid friendly banana pancake recipe turn out much better than using the firm, yellow ones.
Wet Ingredients
- 2 large ripe bananas, mashed well
- 2 large eggs, at room temperature
- 1 cup whole milk
- 2 tablespoons unsalted butter, melted and slightly cooled
- 1 teaspoon vanilla extract
Dry Ingredients
- 1.5 cups all-purpose flour
- 1 tablespoon baking powder
- 2 tablespoons granulated sugar
- 1/2 teaspoon salt
Before You Start
Don’t go hunting for fancy specialty flours for this kid friendly banana pancake recipe. Stick to standard all-purpose flour because it provides the structure needed to hold those heavy mashed bananas together. If you only have salted butter, just skip the extra 1/2 teaspoon of salt in the dry mix so things don’t end up tasting like a salt lick. You can swap the whole milk for a dairy-free milk alternative, but keep in mind that almond or soy milk will make the batter a bit thinner and less rich than the original version.
Making These Simple Banana Breakfast Treats
Prep: 10 mins · Cook: 15 mins · Total: 25 mins · Serves: 4 servings
Step 1: Prepare the dry and wet mixtures
Grab two separate mixing bowls for this. In the first, whisk together your flour, baking powder, sugar, and salt until they look uniform. In the second bowl, mash your ripe bananas with a fork until they are mostly smooth but still have a few small, textured bits. Add the eggs, milk, melted butter, and vanilla to the banana mash, whisking until the liquid is combined and smells faintly sweet.
Step 2: Combine the batter
Pour your banana mixture into the bowl with the flour. Use a spatula to fold everything together just until the flour streaks disappear. Don’t overwork the batter here, or you’ll end up with tough results instead of light, airy ones. It’s okay if the batter looks a little lumpy; those lumps are just bits of banana that will soften as they cook.
Step 3: Heat the skillet
You need a large pan so you don’t crowd the surface, which would cause the pancakes to steam rather than brown. Set your burner to medium heat and let the pan warm up for a few minutes. You’ll know it’s ready when a tiny drop of water flicked onto the surface sizzles and evaporates quickly. Lightly coat the bottom with a thin layer of butter.
Step 4: Cook the first side
Pour the batter into the pan, keeping each pancake separate to ensure they cook evenly. Watch the surface closely; you are waiting for the batter to lose its glossy, raw look and for tiny, uniform bubbles to appear across the top. The edges should look firm and matte, which tells you the structure is holding up well. If you’re looking for more breakfast inspiration, this is a great time to prep your syrup.
Step 5: Flip and finish
Slide your spatula completely under each pancake and flip it in one smooth motion. The second side usually cooks a bit faster than the first. You want a deep golden-brown color on the bottom and a firm, springy texture when you press the center lightly with your finger. If the heat feels too high, turn it down to medium-low to prevent the outside from darkening before the inside is fully cooked.
Step 6: Check for doneness
Before pulling them off the heat, check that the center of the thickest pancake feels set and not squishy. Since these contain fruit, they stay moist, but they shouldn’t be gummy or wet inside. If you are ever unsure, use a small knife to peek into the center of one; it should look like a soft, cooked crumb. Serve these warm, perhaps with a little extra butter or fresh fruit on top.
Troubleshooting
| Problem | Cause | Solution |
|---|---|---|
| Pancakes are falling apart | Batter is too thin | Let the batter rest for 5 minutes so the flour hydrates. |
| Dark outside, raw inside | Heat is too high | Lower to medium-low and cook for an extra minute per side. |
| Tough or chewy texture | Over-mixing the batter | Stop mixing as soon as the flour streaks disappear. |
Tips for Getting It Right
If you find the batter is spreading too thin in the pan, try using a slightly smaller measuring cup to portion them out. Smaller rounds are much easier to flip without breaking, which saves you a lot of frustration when you’re trying to get breakfast on the table.
Always check that your eggs are at room temperature before you start. Cold eggs can cause the melted butter to clump up into tiny solid bits, which makes the batter uneven and harder to cook through properly.
Variations Worth Trying
If you want to change things up, try folding in a few extra mashed banana chunks right before you pour the batter into the pan. It adds a nice texture contrast that makes these morning breakfast staples feel a bit more special without needing any extra ingredients.
You can also sprinkle a tiny bit of extra granulated sugar onto the surface of the pancake right after you pour it into the pan. It creates a thin, caramelized crust on the bottom that tastes great, just be sure to watch the heat so it doesn’t turn bitter.
Frequently Asked Questions
How do you make banana pancakes from scratch?
You just need to whisk your dry ingredients in one bowl and mash the bananas with the wet ingredients in another. Once you fold them together, you’re ready to cook them on a warm, buttered skillet until they turn golden brown.
Can you freeze banana pancakes for kids?
Yes, they freeze perfectly. Let them cool completely on a wire rack, then stack them with parchment paper in between so they don’t stick. You can reheat them in a toaster or a warm pan whenever you need a quick meal.
Why are my banana pancakes gummy inside?
This usually happens if the heat is too high or if you’ve used too much banana relative to the flour. Keep your heat at medium-low to ensure the center sets before the outside darkens, and always measure your flour carefully.
What can I add to banana pancakes for toddlers?
Since you want to keep things simple, you can stir in a little extra vanilla extract for a deeper flavor profile. If you’re looking for healthy morning options, serving these with a side of fresh fruit is always a hit with the little ones.
This version focuses on a specific flour-to-banana ratio that prevents the common ‘gummy’ center issue found in many other banana pancake recipes.
Main Ingredients
- 2 large ripe bananas, mashed
- 2 large eggs, room temperature
- 1.5 cups all-purpose flour
- 1 tablespoon baking powder
- 1 cup whole milk
Seasonings & Extras
- 2 tablespoons granulated sugar
- 1/2 teaspoon salt
- 2 tablespoons unsalted butter, melted
- 1 teaspoon vanilla extract
- Step 1: Whisk the flour, baking powder, sugar, and salt in one bowl, then combine the mashed bananas, eggs, milk, butter, and vanilla in another.
- Step 2: Pour the wet ingredients into the dry mixture and stir gently until just combined.
- Step 3: Place a large non-stick skillet or griddle over medium heat and lightly grease it with butter.
- Step 4: Scoop about 1/4 cup of batter per pancake onto the skillet and cook until the surface shows small bubbles.
- Step 5: Flip the pancakes carefully and cook for another 2 minutes until the bottom is golden brown.
- Step 6: Ensure the interior is cooked through and no raw batter remains before serving.