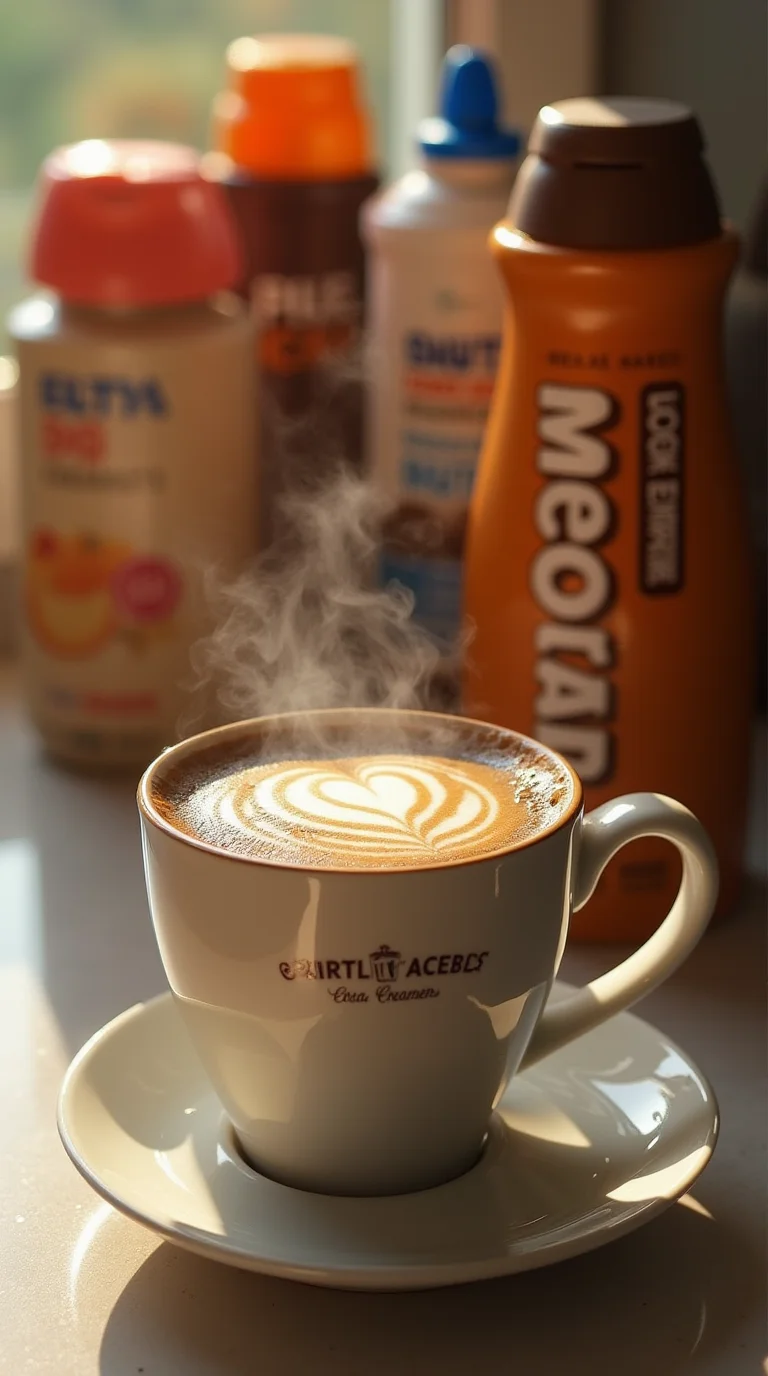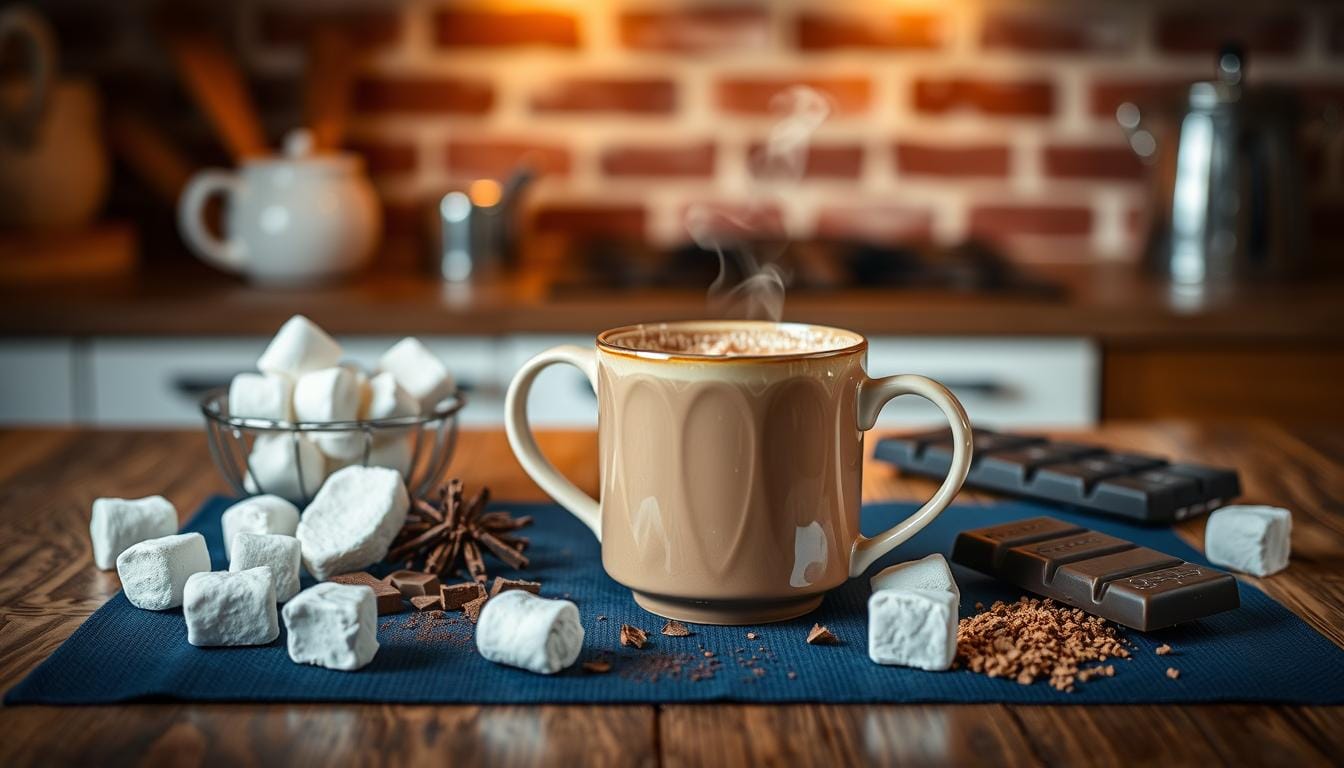
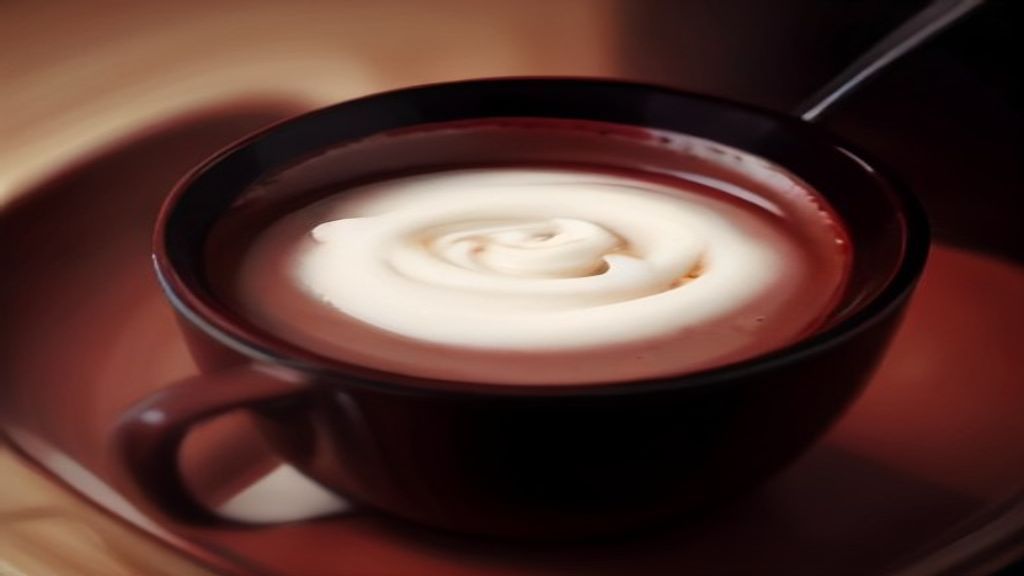
I spent years trying to recreate that thick, velvety drink from a local cafe until I realized the secret wasn’t just the chocolate, but the way you simmer the cocoa with a tiny bit of liquid first to bloom it. This hot chocolate recipe from scratch uses Dutch-processed cocoa and a specific whisking technique to ensure a professional, lump-free texture that rivals high-end cafes. You’ll end up with a drink that has a smooth, uniform deep brown color with a glossy sheen, steaming hot, and a thick, velvety consistency that coats the back of a spoon without any visible clumps.
Quick Answer: Hot chocolate recipe from scratch is made by whisking cocoa powder, sugar, and a pinch of salt into milk over medium heat. Simmer until the mixture is smooth, steaming, and slightly thickened, then stir in vanilla extract before serving warm.
This method turns a dusty powder into a glossy, dark syrup that actually integrates with the milk instead of just floating on top. It creates a rich, heavy body that feels substantial in your mouth. If you want to pair this with something sweet, my favorite buttery shortbread cookies provide a nice crunch against the smooth, steaming liquid.
Ingredients
I always reach for Guittard or Valrhona cocoa powder because the deeper, darker color makes a huge difference in the final cup.
- 2 cups whole milk
- 1/4 cup unsweetened Dutch-processed cocoa powder
- 3 tablespoons granulated sugar
- 1/4 teaspoon pure vanilla extract
- 1 pinch fine sea salt
Before You Start
Stick to whole milk for this. If you try to use skim or water, you’ll lose that velvety body that makes a homemade drink feel like a treat. If you’re dairy-free, a barista-style oat milk is the only swap I’d recommend because it has the fat content needed to mimic real cream.
Don’t skip the pinch of salt. It sounds weird, but it cuts through the heavy sweetness and makes the chocolate notes pop. If you want to learn how to make homemade marshmallows to float on top, have those ready before you start heating the milk. You’ll want to keep your heat low; scorching the milk happens faster than you think, and it ruins the entire batch. Just keep an eye on the pot and stir often.
Steps for Preparing Your Homemade Cocoa
Prep: 2 mins · Cook: 8 mins · Total: 10 mins · Serves: 2 servings
Step 1: Prepare your workspace and pan
You’ll want to use a small saucepan that holds at least two cups comfortably. A heavy-bottomed pot is your best friend here because it distributes heat evenly and keeps the milk from burning on the bottom. Don’t use a massive stockpot, or you’ll lose too much heat and struggle to get a consistent simmer.
Step 2: Create a smooth cocoa paste
This is the most important part of the entire process. Add your cocoa powder, sugar, and salt into the empty pan, then pour in just enough milk—maybe two tablespoons—to create a thick, dark slurry. Whisk this vigorously until the mixture is completely smooth and looks like a glossy, dark chocolate spread. If you skip this, you’ll end up with those stubborn, chalky bits that ruin the texture.
Step 3: Incorporate the remaining milk
Once your base is perfectly smooth, slowly pour in the rest of the milk while you keep whisking. You’ll see the dark paste dissolve into the milk, turning it a beautiful, uniform shade of light brown. Keep going until there are no streaks left and the liquid looks entirely consistent.
Step 4: Simmer the mixture
Turn your burner to medium heat and keep a close eye on the pot. You’ll see small bubbles start to form around the edges of the pan as the liquid warms up. If you’re looking for tips on choosing the right cocoa powder, this is the moment where the quality of your ingredients really starts to show. Don’t let it reach a rolling boil, or the milk might scald.
Step 5: Thicken and finish
Let the liquid bubble gently for about sixty seconds until it thickens slightly. You will feel the resistance change as you stir; the liquid will start to feel heavier and more substantial against your whisk. Once it reaches that point, pull the pan off the heat and stir in the vanilla extract. The heat from the liquid will carry the scent of the vanilla throughout the pot.
Troubleshooting
| Problem | Cause | Solution |
|---|---|---|
| Thin, watery texture | Insufficient simmering time | Simmer for the full sixty seconds to reduce the milk. |
| Burnt flavor | Heat was too high | Keep the burner on medium and stir constantly. |
| Separated cocoa | Incomplete initial paste | Whisk the slurry until it is completely glossy. |
Tips for Getting It Right
If you find the liquid isn’t thickening after the sixty-second mark, don’t panic. Just keep it on the heat for another thirty seconds while stirring, as the milk needs that time to reduce and concentrate. You’ll know it’s ready when the back of your spoon is coated in a velvety, opaque layer that doesn’t slide off immediately.
Always use a heavy-bottomed pan to keep the milk from scorching. If you use a thin, cheap pot, the milk will catch on the bottom before the cocoa has a chance to fully dissolve. If you’re curious about how to properly clean your cookware, keeping that surface smooth helps prevent those stubborn burnt spots from forming in the first place.
Variations Worth Trying
For a slightly more intense flavor, you can increase the cocoa powder by half a teaspoon, but be careful. Too much powder can make the drink feel chalky rather than smooth. If you want to lean into the sweetness, add an extra half-teaspoon of sugar during the paste stage.
If you prefer a lighter, more delicate drink, you can swap a splash of the whole milk for a bit of water during the initial paste creation. It helps the cocoa dissolve faster, though you’ll lose a tiny bit of that signature creamy mouthfeel.
Frequently Asked Questions
How do you make hot chocolate from scratch without a mix?
You just need to create a smooth base with the cocoa, sugar, and a tiny bit of milk before adding the rest. It’s all about that initial whisking process to ensure everything is fully incorporated before the heat hits it.
What is the secret to thick hot chocolate?
The secret is the simmer. By letting the liquid bubble gently for sixty seconds, you allow the milk to reduce slightly, which creates that velvety, substantial texture you’re looking for.
Can I use water instead of milk for hot chocolate?
You could, but I wouldn’t recommend it. Whole milk provides the fat necessary to make the drink feel rich and smooth, whereas water will leave you with a thin, watery beverage that lacks depth.
Is Dutch-processed cocoa better for hot chocolate?
Yes, it is. Because it has been treated to reduce acidity, it creates a much smoother, deeper flavor profile that pairs perfectly with the sweetness of the sugar.
This version uses Dutch-processed cocoa and a specific whisking technique to ensure a professional, lump-free texture that rivals high-end cafes.
Main Ingredients
- 2 cups whole milk
- 1/4 cup unsweetened Dutch-processed cocoa powder
Seasonings & Extras
- 3 tablespoons granulated sugar
- 1/4 teaspoon pure vanilla extract
- 1 pinch fine sea salt
- Step 1: Grab a small saucepan, ideally one with a heavy bottom to prevent scorching.
- Step 2: Whisk the cocoa powder, sugar, and salt with a tiny splash of milk until it forms a thick, uniform paste.
- Step 3: Gradually whisk in the rest of the milk until the mixture is fully combined.
- Step 4: Heat the pot over medium heat, whisking occasionally, until it begins to simmer.
- Step 5: Continue to simmer for one final minute, then remove from heat and stir in the vanilla.