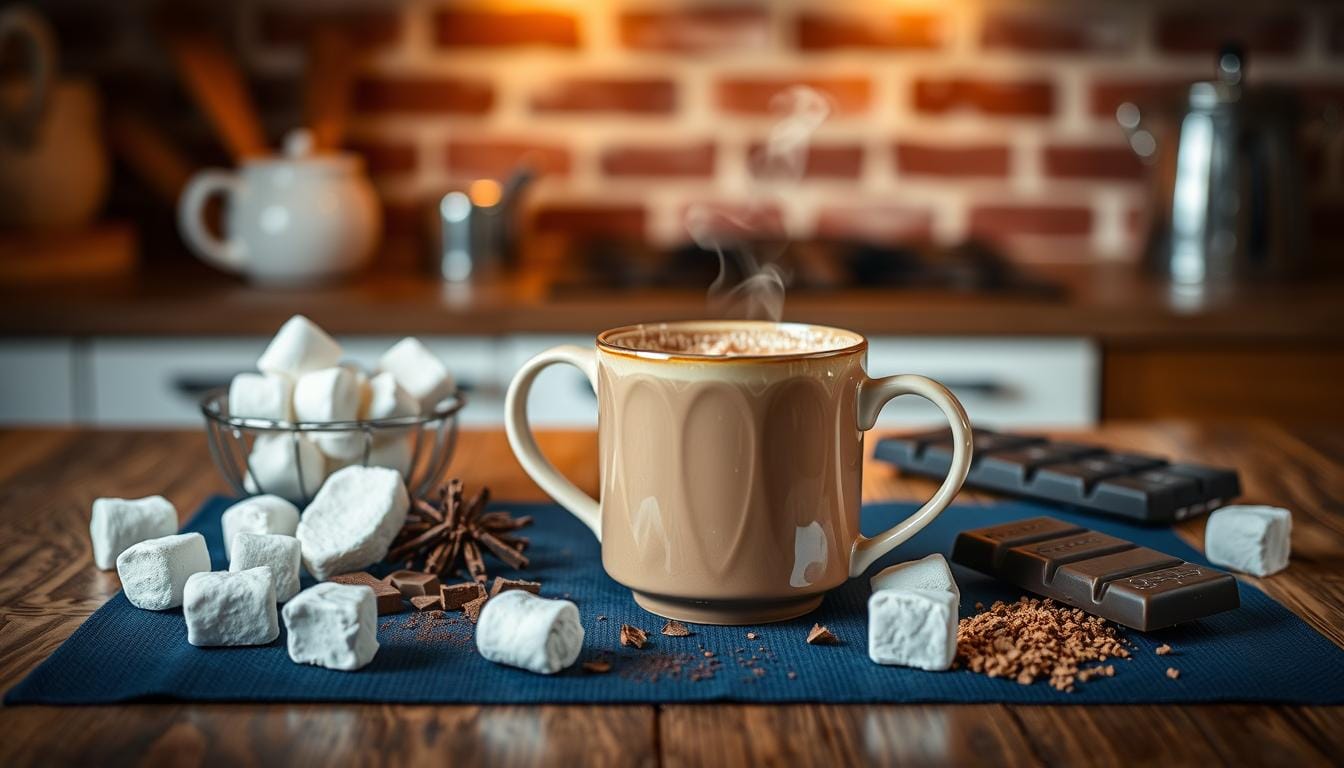
I spent years trying to recreate the thick, velvety cocoa I had at a tiny cafe in Vermont during a blizzard. This peppermint hot chocolate recipe uses a specific cocoa-to-milk ratio and a precise whisking technique to ensure a smooth, barista-quality texture without needing expensive chocolate bars. You’ll end up with a drink that is rich enough to coat the back of a spoon. The refreshing, cool peppermint aroma hits you the moment you lift the mug.
Quick Answer: Peppermint hot chocolate is made by whisking cocoa powder, sugar, and salt into warm milk over medium heat. Once smooth, stir in the peppermint extract, pour into mugs, and top with whipped cream and crushed peppermint candies for a festive finish.
Most people worry their cocoa will taste thin or watery, but using whole milk ensures a heavy, satisfying body. If you learn how to make whipped cream to pile on top, the contrast between the hot liquid and the cold cream is incredible. You’ll see a smooth, velvety texture with a deep chocolate brown color and a light foam that stays consistent until the very last sip.
Ingredients
I always reach for Dutch-processed cocoa powder because it’s less acidic and gives the drink a much darker, smoother finish than standard grocery store brands.
- 2 cups whole milk
- 1/4 cup unsweetened cocoa powder
- 3 tablespoons granulated sugar
- 1/4 teaspoon pure peppermint extract
- 1/8 teaspoon salt
- 1/2 cup whipped cream for topping
- 1 tablespoon crushed peppermint candies for garnish
Before You Start
If you’re hunting for a [peppermint hot chocolate recipe → winter drink ideas] that actually tastes like chocolate and not just sugar, stick to whole milk. Skim or almond milk makes the texture feel thin and sad, which is the last thing you want on a cold night.
Regarding the peppermint, be careful with the extract. It’s incredibly potent, and if you accidentally pour in a heavy splash, the whole mug will taste like toothpaste. If you have high-quality peppermint syrup instead, use about a tablespoon, but keep in mind that it’s much sweeter than the extract. You’ll need to dial back the granulated sugar by half if you go that route. Finally, don’t skip the salt; it’s the only thing keeping this from tasting one-dimensional.
How to Make This Rich Peppermint Cocoa
Prep: 2 mins · Cook: 8 mins · Total: 10 mins · Serves: 2 servings
Step 1: Prepare your workspace
Use a small saucepan that holds at least two cups comfortably. If the pan is too large, the liquid will evaporate too quickly and you’ll end up with a concentrated, overly thick drink. Having everything ready to go keeps the process smooth and prevents any frantic searching while your milk is heating up.
Step 2: Create a smooth base
Pour about two tablespoons of the milk into the pan with the dry ingredients. Use a small whisk to mash the cocoa powder and sugar into the milk until you have a dark, glossy paste. This step is vital because it breaks down the cocoa solids so they don’t form those stubborn, dry lumps later on.
Step 3: Incorporate the remaining milk
Slowly pour the remaining milk into the pan while you keep whisking. You’ll see the dark paste lighten into a rich, chocolatey liquid. Make sure you scrape the bottom edges of the pan with your whisk to ensure no dry powder is hiding in the corners.
Step 4: Simmer the cocoa
Keep an eye on the pan as the temperature rises. You want the milk to reach a gentle simmer, which you’ll recognize when you see tiny bubbles forming around the edges and the liquid begins to look velvety. Avoid a rolling boil, as that can scorch the milk and ruin the flavor profile.
Step 5: Add the peppermint
Taking the pan off the heat before adding the extract preserves the bright, clean flavor of the peppermint. If you add it while the liquid is still bubbling, the heat can cause the volatile oils to evaporate too quickly. Give it a quick stir to distribute the flavor evenly throughout the drink.
Step 6: Serve and garnish
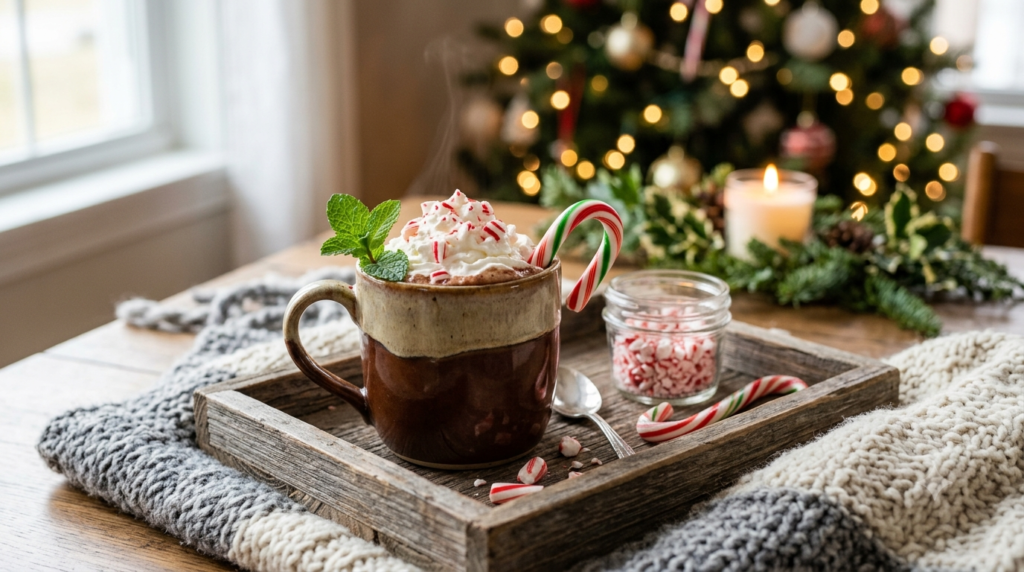
Divide the liquid between two mugs. The surface should have a light, airy foam from your whisking. If you’re looking for more cozy drink ideas, this is a great base to start with. Add a dollop of whipped cream and sprinkle the crushed candies over the top for that final festive touch.
Troubleshooting
| Problem | Cause | Solution |
|---|---|---|
| Thin or watery texture | Milk didn’t simmer long enough | Keep the heat low and stir until it coats a spoon |
| Bitter aftertaste | Cocoa powder scorched | Lower the heat and whisk constantly to prevent sticking |
| Weak peppermint flavor | Added extract while boiling | Remove from heat before stirring in the extract |
Tips for Getting It Right
If you want a truly velvety drink, don’t rush the initial paste. Taking that extra minute to work the cocoa and sugar into a smooth, dark base makes all the difference in the final mouthfeel. I’ve found that using a small silicone spatula to scrape the sides of the pan while whisking ensures every bit of cocoa gets incorporated into the milk.
Keep your heat on the lower side of medium. Milk proteins can be temperamental, and if you let the liquid reach a rolling boil, you’ll end up with a skin on top that ruins the smooth finish. You want to see those tiny, gentle bubbles around the edges, which tells you the drink is hot enough to be comforting without being scorched.
Variations Worth Trying
If you prefer a more intense chocolate experience, you can increase the cocoa powder by half a tablespoon. Just make sure you add a tiny splash more milk to the base paste so it doesn’t become too thick to stir.
For a different texture, you can skip the whipped cream and instead stir in a little extra sugar while the liquid is still hot. It creates a slightly syrupy, indulgent consistency that pairs well with the sharp, cooling sensation of the peppermint. You can also explore more winter drink ideas if you want to experiment with other flavor profiles once you master this classic.
Frequently Asked Questions
How do you make peppermint hot chocolate from scratch?
You start by creating a concentrated paste with your cocoa, sugar, and a splash of milk. Once that is glossy and smooth, you whisk in the rest of the milk and bring it to a gentle simmer before finishing it off with the peppermint extract.
What is the best peppermint extract for hot chocolate?
Look for a high-quality pure extract rather than an imitation version. Since the flavor is so prominent, a pure extract provides a clean, bright finish that doesn’t taste artificial or medicinal in your mug.
Can you use peppermint schnapps in hot chocolate?
You could, but it changes the balance of the drink significantly. If you decide to go that route, skip the peppermint extract entirely so the flavor doesn’t become overwhelming, and add the schnapps right at the end after you take the pan off the heat.
How do you garnish peppermint hot chocolate?
A generous dollop of whipped cream is the best foundation for the toppings. Once that is in place, sprinkle your crushed peppermint candies over the top so they catch the light and add a nice crunch to every sip.
This version uses a specific cocoa-to-milk ratio and a precise whisking technique to ensure a lump-free, barista-quality texture without the need for expensive chocolate bars.
Main Ingredients
- 2 cups whole milk
- 1/4 cup unsweetened cocoa powder
- 1/2 cup whipped cream for topping
Seasonings & Extras
- 3 tablespoons granulated sugar
- 1/4 teaspoon pure peppermint extract
- 1/8 teaspoon salt
- 1 tablespoon crushed peppermint candies for garnish
- Step 1: Grab a small saucepan and measure out all your ingredients before you turn on the stove.
- Step 2: Whisk the cocoa powder, sugar, and salt with a splash of milk in the pan until it forms a uniform paste.
- Step 3: Gradually whisk in the rest of the milk until the mixture is completely smooth and combined.
- Step 4: Place the pan over medium heat and simmer until the liquid is hot and slightly thickened.
- Step 5: Remove the pan from the heat and stir in the peppermint extract.
- Step 6: Pour the drink into mugs and top with whipped cream and crushed peppermint candies.