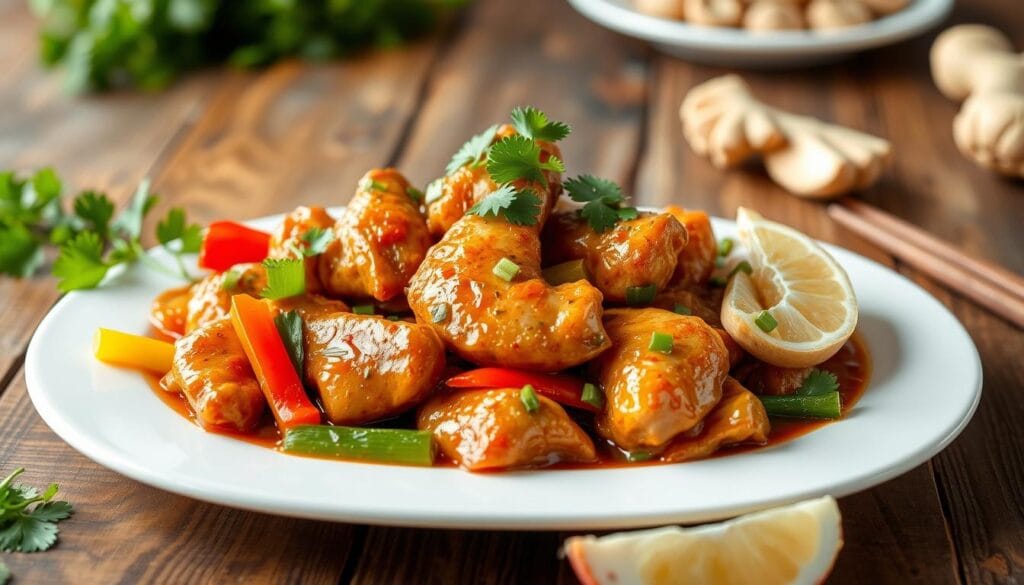
Remember that feeling? The excitement as the white takeout box, with its red pagoda design, was placed on the table. The steam escaping as you pried open the lid, revealing those glistening pieces of golden-fried chicken bathed in a vibrant, sticky-sweet sauce.
For many of us, sweet and sour chicken isn’t just a dish; it’s a portal to a time of family dinners, special occasions, and the simple joy of a perfectly balanced flavor explosion.
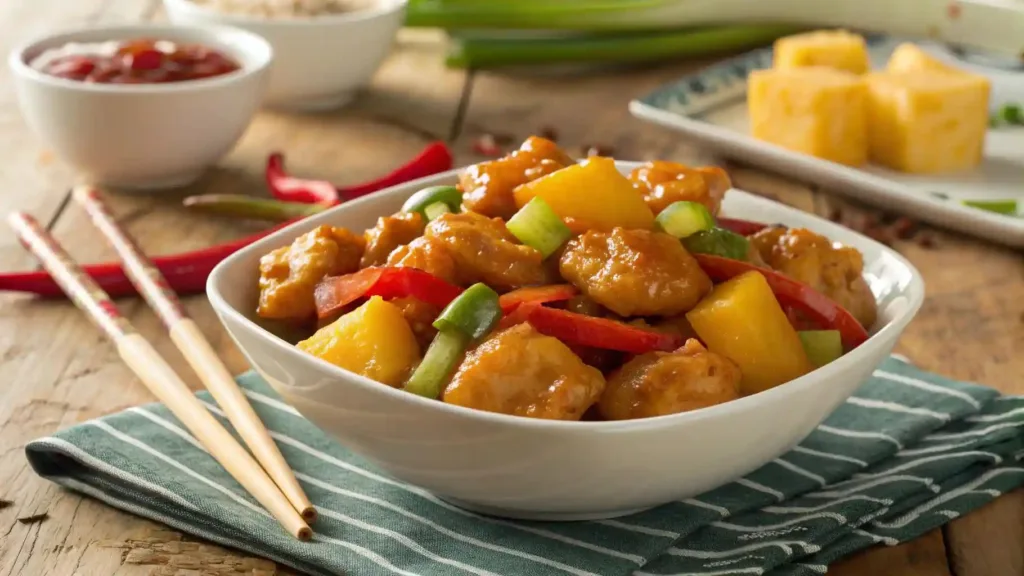
This guide is an invitation to recapture that magic, to bring the authentic, irresistible taste of sweet and sour chicken from your favorite restaurant right into your own kitchen.
It’s about more than just a recipe; it’s about creating new memories and savoring a classic, one delicious bite at a time.
What Makes Sweet and Sour Chicken So Irresistible?
Before you embark on this culinary adventure, it’s beneficial to understand what makes this dish a timeless classic. The allure of sweet and sour chicken lies in its harmonious blend of textures and flavors. It’s a symphony where each component plays a critical role in creating a truly unforgettable experience.
The Anatomy of a Classic
To truly master this dish, you must first comprehend its foundational elements. Think of it as a three-part harmony: the chicken, the sauce, and the vibrant vegetables.
- The Chicken: The choice of protein is paramount. While both chicken breast and thigh can be used, many chefs prefer chicken breast for its lean, uniform texture that holds up well to frying. The true secret, however, is the crispy coating. This isn’t your average batter. It’s a specific blend designed to achieve a light, airy, and shatteringly crisp shell that locks in the chicken’s moisture. Some experts even recommend a double-frying technique—a quick fry to cook the chicken through, followed by a second, shorter fry at a higher temperature to achieve that coveted golden-brown crunch.
- The Sauce: The sauce is, without a doubt, the star of the show. It’s a delicate dance between opposing tastes. The sweetness often comes from sugar, pineapple juice, or a touch of honey, providing a rich, sugary base. This is expertly countered by the sharp, acidic notes of rice vinegar or white vinegar, which cut through the sweetness and prevent it from becoming cloying. A splash of soy sauce introduces a deep, savory umami, grounding the sauce with a salty counterpoint. Finally, a touch of ketchup or a hint of citrus can add a fruity tang, providing the complexity that defines a perfect sweet and sour sauce.
- The Vegetables: The vegetables are not mere filler; they are the supporting cast that adds color, texture, and a fresh crispness. Bell peppers—red, green, and yellow—are non-negotiable, not just for their vibrant appearance but for their unique, slightly sweet flavor. Onions add a savory depth, and chunks of pineapple contribute a burst of tropical sweetness that complements the sauce beautifully. You might also see carrots or snap peas, which introduce additional crunch and color.
The Journey of Sweet and Sour: A Brief History
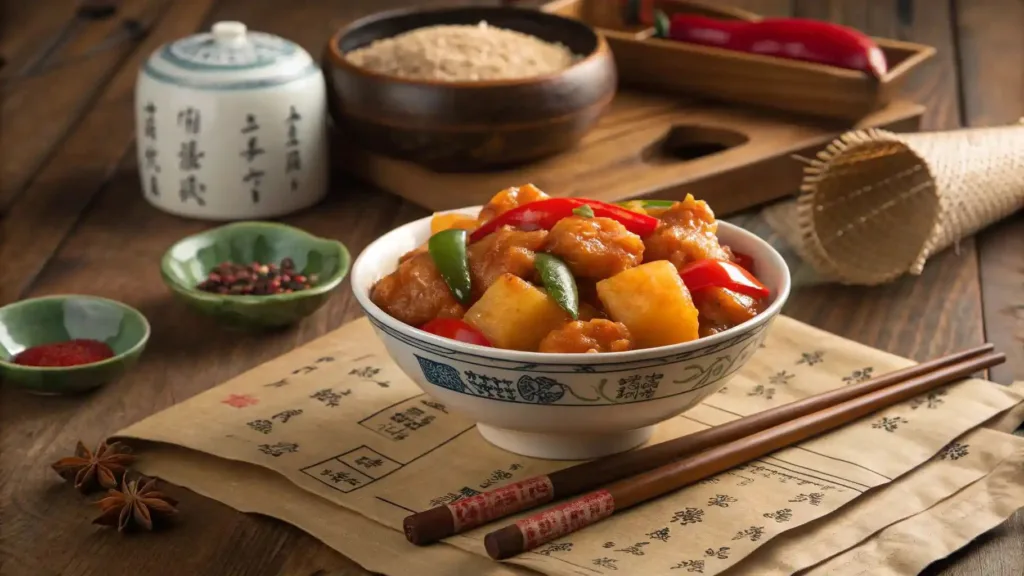
The dish you know and love didn’t appear out of thin air. Its history is a fascinating journey from the kitchens of ancient China to the tables of American diners.
- Origins in China: The roots of sweet and sour cuisine trace back to the Cantonese region of China, specifically Guangdong province. In its earliest forms, it was a sauce used to prepare fish or meat, balancing the flavors of a dish to appeal to a wider palate. The original “sweet and sour pork” (Gulaorou) was highly valued, especially in the era of early trade, as it was a way to make a dish more palatable to foreigners with a preference for sweeter flavors.
- The Americanization: As Chinese immigrants moved to the United States, they adapted their traditional recipes to suit local tastes and available ingredients. The original Gulaorou, which often used a thicker, less vibrant sauce, evolved into the version we recognize today. Ketchup, readily available and popular in the U.S., became a common ingredient, giving the sauce its signature red hue and tangy kick. This new version, with its brightly colored sauce and deep-fried chicken, quickly became a sensation, cementing its place as a staple of Chinese-American cuisine.
- Key Differences: It’s important to differentiate between the two. Traditional Chinese sweet and sour dishes often use a more muted, less sugary sauce, and the protein is typically battered and then stir-fried with the vegetables, rather than being coated in a pre-made sauce. The American version, by contrast, is known for its thick, glossy, and intensely flavored sauce that fully coats the deep-fried chicken.
Crafting Your Perfect Sweet and Sour Chicken Recipe
Now that you understand the dish’s background and components, let’s get into the step-by-step process of creating a perfect batch of sweet and sour chicken in your own kitchen.
The Crispy Chicken Prep
The journey to an incredible dish begins with the chicken. A truly crispy exterior is non-negotiable.
- Marination: Start by marinating your chicken pieces. A simple marinade of a touch of soy sauce and a little ginger powder for about 15-20 minutes will infuse the meat with a subtle, savory base flavor. This step also helps keep the chicken tender.
- The Batter: The secret to that iconic crunch lies in your batter. For a light and airy coating, combine cornstarch, flour, and a pinch of baking powder. The baking powder is the key—it reacts with the oil’s heat, creating tiny air pockets that result in a lighter, crispier texture. Whisk in an egg and a little cold water until you have a smooth, thin batter.
- Frying: Heat your frying oil to around 350-375°F (175-190°C). Carefully dip each marinated chicken piece into the batter, ensuring it’s fully coated, then gently place it into the hot oil. Avoid crowding the pan; fry in small batches to maintain the oil’s temperature. Fry for 3-4 minutes per side until golden and cooked through. Remove and place on a wire rack to drain any excess oil.
The Ultimate Sweet and Sour Sauce
While the chicken is resting, you can create the masterpiece that is the sauce.
- Ingredient Ratios: A reliable ratio for a balanced sauce is key. Combine equal parts sugar and rice vinegar. Then, add a smaller amount of ketchup and soy sauce. A great starting point is:
- 1 cup sugar
- 1 cup rice vinegar
- 1/2 cup ketchup
- 1/4 cup soy sauce
- 1/2 cup pineapple juice (optional, but highly recommended for a fruity note)
- The Thickening Agent: The signature gloss of sweet and sour sauce comes from a cornstarch slurry. In a small bowl, whisk together equal parts cornstarch and water. This is your thickening agent.
- Bringing it all together: In a saucepan, whisk together all your sauce ingredients over medium heat until the sugar dissolves. Bring to a gentle simmer. Slowly pour in the cornstarch slurry while whisking constantly. The sauce will begin to thicken and become glossy almost immediately. Now is the time to add your chopped vegetables and pineapple. Let them simmer for a few minutes to soften slightly. Finally, add your crispy chicken and toss to coat. Serve immediately.
Pro Tips for Restaurant-Quality Sweet and Sour Chicken
To elevate your dish from good to great, consider these expert recommendations.
- The Importance of a Wok: While not strictly necessary, using a wok is a game-changer. Its wide, deep shape and thin walls allow for rapid, even heat distribution, which is ideal for stir-frying and deep-frying.
- Don’t Crowd the Pan: This is a golden rule for frying. When you add too much at once, the oil temperature drops dramatically, leading to soggy, oily chicken instead of a crispy delight. Be patient and fry in batches.
- Fresh vs. Canned Pineapple: While canned pineapple is convenient, fresh pineapple will provide a brighter, more vibrant flavor that truly elevates the dish. The canned variety often has a more syrupy sweetness.
- Garnishes: Don’t underestimate the power of a good garnish. A sprinkle of toasted sesame seeds adds a nutty crunch, while freshly chopped scallions provide a fresh, pungent contrast. A drizzle of sriracha can introduce a welcome hint of heat if you desire.
Frequently Asked Questions about Sweet and Sour Chicken
Can I make a healthier version of sweet and sour chicken?
Yes, absolutely! While the classic version is often deep-fried, you can achieve a similar result by baking or air-frying the chicken. To make a lighter sauce, you can reduce the amount of sugar and use natural alternatives like honey or maple syrup in moderation. You could also increase the amount of fresh vegetables to add more fiber and nutrients.
What’s the best way to store leftover sweet and sour chicken?
To preserve the crispness of your chicken, it’s best to store the chicken and the sauce in separate airtight containers in the refrigerator. When you’re ready to reheat, you can warm the sauce on the stovetop and reheat the chicken in a hot oven or an air fryer to get back some of its crunch before tossing it together. Reheating it all together in the microwave will result in a very soggy texture.
Can I use different types of meat for this recipe?
Certainly! Sweet and sour pork (the original!) is a fantastic alternative. You can also use shrimp, firm tofu, or even cauliflower for a vegetarian option. Just be mindful of the cooking times—shrimp cooks very quickly, while tofu may need to be pressed to remove excess water before frying.
Conclusion: Your New Go-To Meal
By following this comprehensive guide, you have armed yourself with the knowledge and techniques to create a truly spectacular sweet and sour chicken. It’s more than just a recipe; it’s a skill that will impress your family and friends and become a treasured part of your cooking repertoire. So, go ahead, grab your wok, and start cooking up a bowl of comfort, nostalgia, and pure deliciousness. Your journey to mastering this timeless classic begins now.
Ready to get cooking? Head to our recipe section to find a step-by-step guide and get started on your masterpiece!
