Waking up to the promise of a new day should feel good, but all too often, the morning rush turns our breakfast into an afterthought. We grab a box off the shelf, pour a bowl, and barely taste the sugary, processed flakes before we’re out the door.
But what if you could start your day with something truly nourishing, something made with your own two hands and a little bit of love?
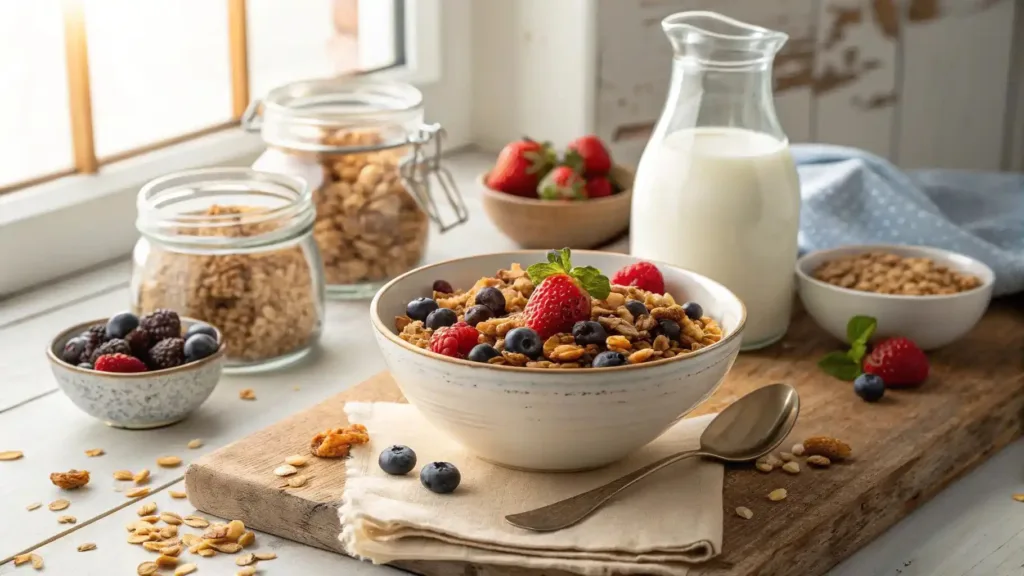
This article is for anyone who wants to reclaim their morning ritual. We’re going to dive into the world of homemade breakfast cereal, where you’re in control of every ingredient, every flavor, and every bite.
Forget artificial colors and high-fructose corn syrup—we’re talking about real food that tastes amazing and makes you feel great. Get ready to transform your breakfast from a chore into a celebration.
The Unexpected Benefits of Making Your Own Breakfast Cereal
Homemade breakfast cereal isn’t just about saving money, it’s about taking charge of your health and well-being.
- You’re in Control: When you make your own cereal, you decide what goes in it. This means you can avoid common allergens, reduce sugar intake, and choose high-quality, organic ingredients.
- Nutritional Powerhouse: Store-bought cereals are often stripped of their natural goodness. Your homemade versions can be packed with fiber, protein, and healthy fats from whole grains, nuts, and seeds.
- Endless Flavor Possibilities: From chocolatey granola to spiced quinoa flakes, you’ll never get bored. You can create unique flavor combinations that cater to your personal taste.
Getting Started: Essential Ingredients and Tools for Homemade Breakfast Cereal
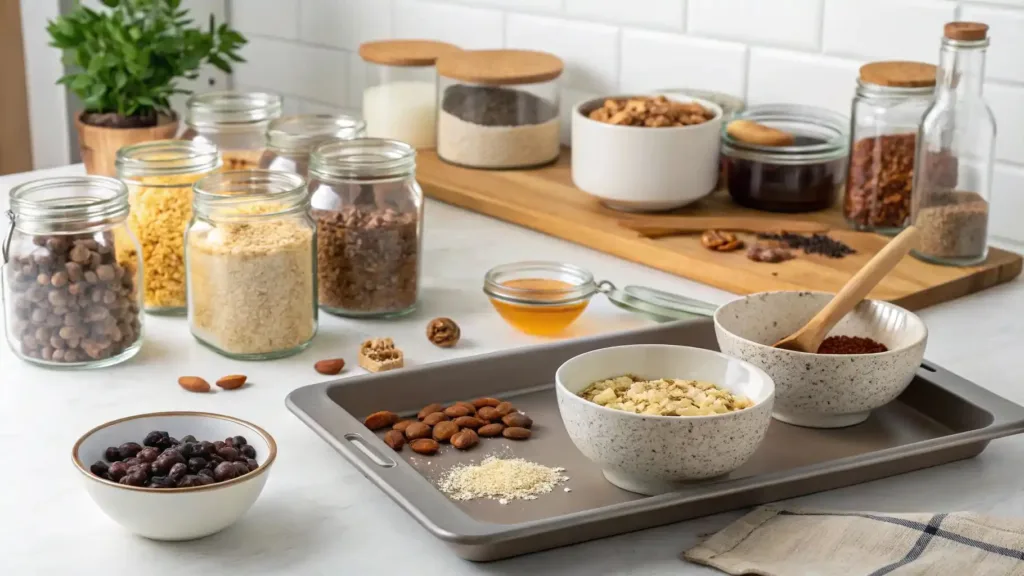
Before you start baking, you’ll want to gather a few key items. Don’t worry, you likely have most of these in your pantry already.
Pantry Staples
- Whole Grains: Oats (rolled or quick-cooking), quinoa flakes, puffed rice, and millet are excellent bases.
- Sweeteners: Maple syrup, honey, or a touch of brown sugar are great for adding natural sweetness.
- Fats: Coconut oil, olive oil, or melted butter help create that crispy, golden texture.
- Flavor Boosters: Vanilla extract, cinnamon, nutmeg, and cocoa powder are your secret weapons.
Must-Have Kitchen Tools
- Large Mixing Bowl: Essential for combining all your ingredients evenly.
- Baking Sheet: A large, rimmed baking sheet is perfect for toasting your cereal.
- Parchment Paper: This prevents sticking and makes cleanup a breeze.
- Spatula or Wooden Spoon: For mixing and stirring.
3 Simple Recipes to Kickstart Your Homemade Breakfast Cereal Journey
Here are three delicious and easy recipes to get you started. Each one is a fantastic way to explore the world of homemade cereal.
1. Classic Honey Almond Granola
This recipe is a timeless favorite for a reason. It’s easy, versatile, and incredibly satisfying.
- Key Ingredients: Rolled oats, sliced almonds, a touch of honey, coconut oil, and cinnamon.
- Instructions:
- Preheat oven and mix dry ingredients.
- Combine wet ingredients and pour over dry.
- Bake until golden and fragrant, stirring halfway through.
- Serving Suggestions: Enjoy with milk, yogurt, or fresh fruit.
2. Chocolate Peanut Butter Crunch
Kids (and adults) will love this one! It’s a healthier take on a classic flavor combination.
- Key Ingredients: Quinoa flakes, cocoa powder, peanut butter, and a dash of maple syrup.
- Instructions:
- Spread quinoa flakes on a baking sheet and toast lightly.
- In a separate bowl, mix melted peanut butter, cocoa, and maple syrup.
- Combine ingredients and bake for a few more minutes to set.
- Serving Suggestions: This is delicious with milk or as a topping for ice cream.
3. Spiced Apple Cinnamon Muesli
This no-bake option is perfect for those busy mornings. Muesli is designed to be soaked overnight for a soft, chewy texture.
- Key Ingredients: Rolled oats, dried apple pieces, cinnamon, and a variety of nuts and seeds.
- Instructions:
- Simply combine all ingredients in an airtight container.
- In the morning, scoop out a portion and top with milk or yogurt.
- Serving Suggestions: This is excellent with a sprinkle of fresh berries.
Storing and Preserving Your Homemade Breakfast Cereal
So, you’ve made a big batch of your new favorite cereal. Now what? Proper storage is key to keeping it fresh and crispy.
- Airtight Containers: Use glass jars or sealable containers to protect your cereal from moisture.
- Cool, Dark Place: Store your cereal in a pantry or cupboard away from direct sunlight.
- Shelf Life: Most homemade cereals will stay fresh for up to two weeks. Some may last longer, but always check for freshness before serving.
Frequently Asked Questions About Homemade Breakfast Cereal
Is homemade breakfast cereal healthier than store-bought?
Yes, in most cases. You can control the amount of sugar, salt, and fat, and you can ensure your cereal is made with whole, unprocessed ingredients.
Can I make homemade breakfast cereal gluten-free?
Absolutely! Use certified gluten-free oats, quinoa flakes, or other gluten-free grains as your base.
What are some good sources of protein for my homemade breakfast cereal?
Add nuts, seeds (like chia or pumpkin), and protein powder to boost the protein content.
Conclusion
Making your own **homemade breakfast cereal** is a rewarding experience that puts you back in the driver’s seat of your morning routine. It’s a simple act of self-care that reclaims breakfast from the packaged and processed world. By choosing your own ingredients and flavors, you’re not just eating a meal—you’re creating a moment of joy and nourishment to start your day. Why not try one of our recipes this week and discover the delicious difference for yourself?

