Do you remember those times you’ve sat down to a plate of chicken, only to find it’s tough, dry, and utterly flavorless? The kind of chicken you drown in sauce just to make it palatable? We’ve all been there. It’s a frustrating experience that can make you feel like giving up on a classic weeknight meal.
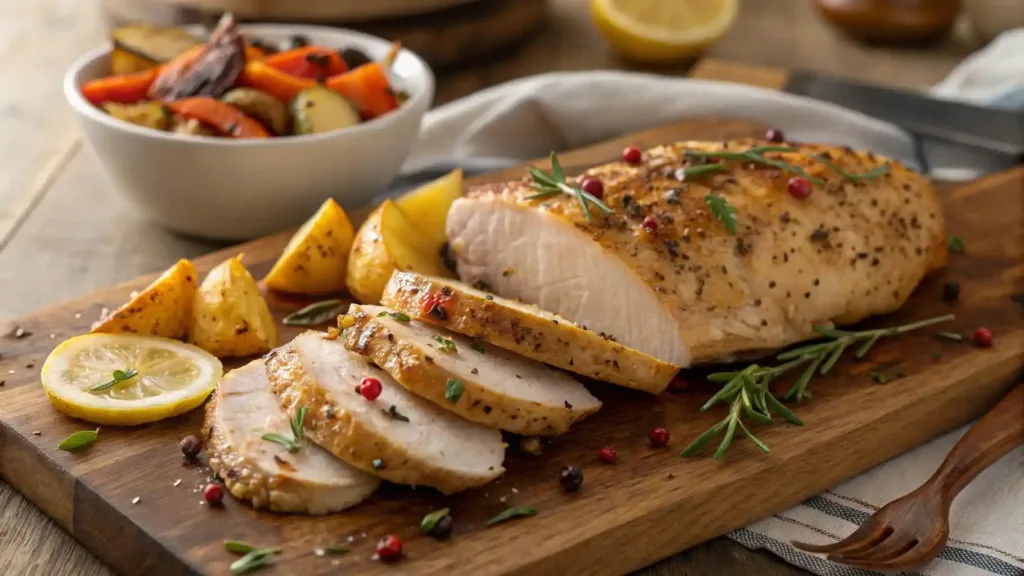
But what if I told you that creating perfectly baked chicken breasts—the kind that are unbelievably juicy, tender, and bursting with flavor—is not just possible, but surprisingly simple? This isn’t about a secret ingredient or a complicated culinary technique. It’s about a few key principles that will forever change the way you prepare one of the most versatile proteins in your kitchen. Get ready to transform your chicken dinner from a chore into a triumph.
The Essential Ingredients & Tools for Perfect Baked Chicken Breasts
Before we dive into the method, let’s ensure you have everything you need. A great meal starts with great components and the right equipment. Think of your kitchen as a workshop; having the proper tools and materials makes all the difference.
Gather Your Arsenal: What You’ll Need
This is more than just a shopping list; it’s a strategic collection of items that will set you up for success.
The Chicken:
- Boneless, skinless chicken breasts: These are the stars of the show. We’re focusing on this cut because it’s a lean, healthy, and a common choice for quick dinners.
- Fresh vs. Frozen: While you can certainly bake chicken from frozen (we’ll get to that later), beginning with fresh or properly thawed chicken breasts gives you a significant advantage in achieving optimal texture and moisture. Fresh meat retains its natural juices better, resulting in a more tender final product.
- The Importance of Patting Them Dry: This step is often overlooked but is absolutely critical. Moisture on the surface of your chicken creates steam in the oven, which prevents the meat from browning and developing a delicious crust. By patting your chicken breasts completely dry with a paper towel, you’re paving the way for the Maillard reaction—the chemical process responsible for that flavorful, golden-brown exterior.
The Flavor Foundation:
- Olive oil or melted butter: This acts as a binder for your seasonings and helps prevent the chicken from sticking to the pan. It also contributes to a beautiful golden-brown color.
- Salt and black pepper: These aren’t just seasonings; they’re flavor enhancers. Salt, in particular, helps to tenderize the meat and draw out its natural taste. Never skip these two!
- Your Chosen Spices: This is where you get to be creative. Garlic powder, onion powder, paprika, dried herbs—the possibilities are endless. We’ll explore some popular variations later.
The Tools:
- Baking sheet or oven-safe dish: A simple, rimmed baking sheet works perfectly. For easier cleanup, consider lining it with aluminum foil or parchment paper.
- Meat thermometer: This is your secret weapon. I cannot stress this enough. Guessing is the surest path to overcooked, dry chicken. An instant-read thermometer takes all the guesswork out of the equation.
- Tongs: For safely transferring the hot chicken to a cutting board after baking.
Step-by-Step: How to Bake Chicken Breasts to Perfection
Forget everything you thought you knew about baking chicken. This method is a reliable blueprint for achieving a consistently perfect result every single time. Follow these steps, and you will be rewarded with a meal that is both succulent and satisfying.
A Foolproof Method for Juicy Results
This process is designed for predictability and success. It’s a methodical approach that guarantees a delicious outcome.
Step 1: Prep and Seasoning
- Preheat your oven. The ideal temperature for baked chicken breasts is 400°F (200°C). This high heat ensures a quick cook time, which minimizes the amount of moisture lost from the meat.
- Prepare the chicken. Remember that crucial step? Pat your chicken breasts completely dry with paper towels. This is non-negotiable if you want a browned, flavorful exterior.
- Oil and Season. Lightly coat each piece of chicken with a tablespoon of olive oil or melted butter. This helps the seasonings adhere and promotes even browning.
- Generously Season. Sprinkle a generous amount of salt and pepper on both sides, followed by your chosen spices. Don’t be shy! A well-seasoned baked chicken breast is a truly magnificent thing.
Step 2: The Baking Process
- Arrange the chicken. Place the seasoned chicken breasts on your prepared baking sheet in a single layer, making sure there is some space between each piece. This allows hot air to circulate, ensuring they cook evenly.
- Bake for the right amount of time. At 400°F (200°C), a standard-sized boneless, skinless chicken breast (about 6-8 ounces) will typically take between 20 to 30 minutes to cook through. However, thickness is the real variable here. A thicker breast will take longer, while a thinner one will cook faster.
- Use your meat thermometer! This is the moment your secret weapon comes into play. Insert the thermometer into the thickest part of the chicken breast. The target temperature you are looking for is 165°F (74°C). Once it hits this number, your chicken is cooked to perfection and is safe to eat. Do not wait for it to get any hotter, as it will continue to cook a bit after you remove it from the oven.
Step 3: The Crucial Resting Period
- Remove from the oven. As soon as your thermometer reads 165°F, take the chicken out of the oven immediately.
- Rest the chicken. Transfer the chicken to a clean cutting board and tent it loosely with aluminum foil. This is another non-negotiable step.
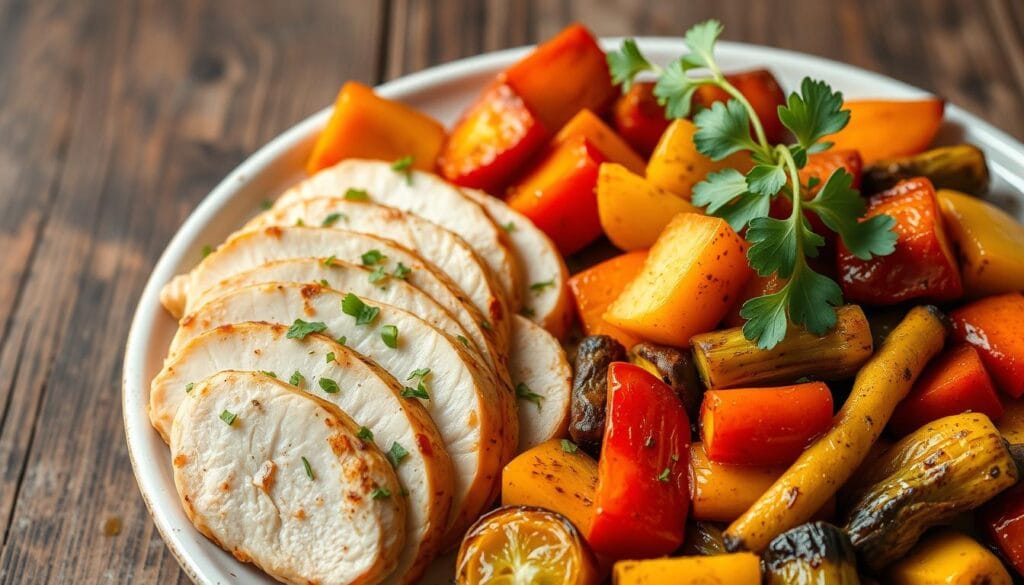
- Why is this so important? During the baking process, the muscle fibers of the chicken tighten, pushing the natural juices to the center. By letting the chicken rest for 5 to 10 minutes, you allow those fibers to relax and the juices to redistribute throughout the entire piece of meat. Slicing into it too soon will cause all those precious juices to spill out onto your cutting board, leaving you with a dry, disappointing result. The resting period is the difference between good chicken and great chicken.
Flavor Variations: Elevate Your Baked Chicken Breasts
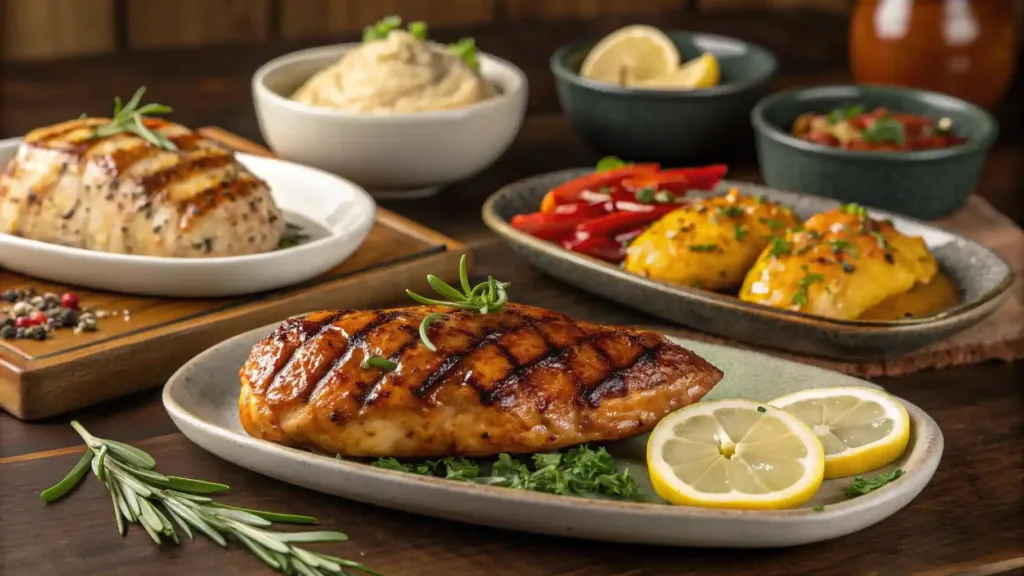
One of the best things about baked chicken breasts is their incredible versatility. They are a blank canvas, waiting for you to add your favorite flavors. Here are some ideas to get you started, but feel free to let your imagination run wild!
Delicious Ideas for Every Palate
Simple & Savory
- Lemon Herb Baked Chicken Breasts: A timeless classic. After oiling the chicken, season with salt, pepper, garlic powder, dried thyme, and rosemary. Place thin slices of fresh lemon on top before baking. The citrus cuts through the richness and adds a bright, fresh flavor.
- Garlic Parmesan: A fan favorite for a reason. Mix minced garlic, grated Parmesan cheese, a pinch of salt, and Italian seasoning with olive oil to create a paste. Spread this mixture over the chicken breasts before baking for a savory, cheesy crust.
Spicy & Bold
- Smoky Chipotle: For those who like a little heat. Use smoked paprika, chili powder, and a dash of cayenne pepper. A pinch of brown sugar can balance the heat and create a delicious, caramelized exterior.
- Cajun Style: A flavor explosion! A homemade or quality store-bought Cajun spice blend gives your chicken a bold, zesty kick. Just remember that many blends already contain salt, so adjust your seasoning accordingly.
Sweet & Tangy
- Honey Mustard: A perfect marriage of sweet and savory. Whisk together Dijon mustard, honey, and a touch of apple cider vinegar. Brush this on the chicken halfway through the baking process to prevent the honey from burning.
- Balsamic Glaze: Bake the chicken as you normally would. In the last 5 minutes, brush a thick balsamic glaze over the top. This creates a glossy, tangy finish that’s both elegant and incredibly simple.
Common Questions & Troubleshooting Your Baked Chicken Breasts
Let’s address some of the most common issues and questions that arise when baking chicken breasts.
Your FAQs Answered
Why are my baked chicken breasts dry?
- Overcooking: This is, without a doubt, the number one reason. That’s why the meat thermometer is your best friend. Every oven is different, and chicken breasts vary in size. Never rely solely on time.
- Skipping the Resting Period: As we’ve discussed, this causes the juices to leak out, leaving you with dry meat.
How long do I bake chicken breasts at 400 degrees?
- For a standard 6-8 ounce boneless, skinless chicken breast, you are typically looking at a range of 20 to 30 minutes. However, your thermometer is the ultimate authority. Always bake to an internal temperature of 165°F (74°C).
Can I bake frozen chicken breasts?
- Yes, you can! It will just take longer. To bake frozen chicken breasts, you will want to cook them at a slightly lower temperature, around 375°F (190°C), for about 50-60 minutes, or until they reach the required internal temperature. Be aware that the texture may not be quite as good, and it’s a bit harder to get a good browned crust.
Conclusion: Your Journey to Perfect Baked Chicken Breasts Begins Now
You now have a complete, foolproof guide to making baked chicken breasts that are consistently juicy, tender, and full of flavor. No more dry, sad dinners. The power is in your hands to transform this simple protein into a meal you and your family will genuinely enjoy. The key takeaways are simple: pat the chicken dry, season it generously, use a meat thermometer to prevent overcooking, and—most importantly—let it rest.
Now that you’re equipped with this knowledge, what are you waiting for? Pick a new spice blend, a fresh batch of herbs, or a zesty marinade, and try out this method tonight. Share your culinary creations with us in the comments below and let us know your favorite ways to season baked chicken breasts! Happy cooking!
