I spent months trying to replicate that takeout flavor without the massive sugar spike that always left me crashing by nine. This diabetic friendly chicken stir fry recipe swaps the thick, syrupy bottled sauce for a punchy mix of ginger, garlic, and toasted sesame oil to keep your glucose levels steady. You’ll get a vibrant, satisfying meal that hits the spot every single time. The kitchen fills with the sharp, clean scent of fresh ginger and searing aromatics.
Quick Answer: This diabetic friendly chicken stir fry recipe is made by sautéing lean chicken breast with low-glycemic vegetables like broccoli and peppers in a savory, sugar-free sauce of soy sauce, ginger, and garlic, resulting in a healthy, blood-sugar-conscious meal.
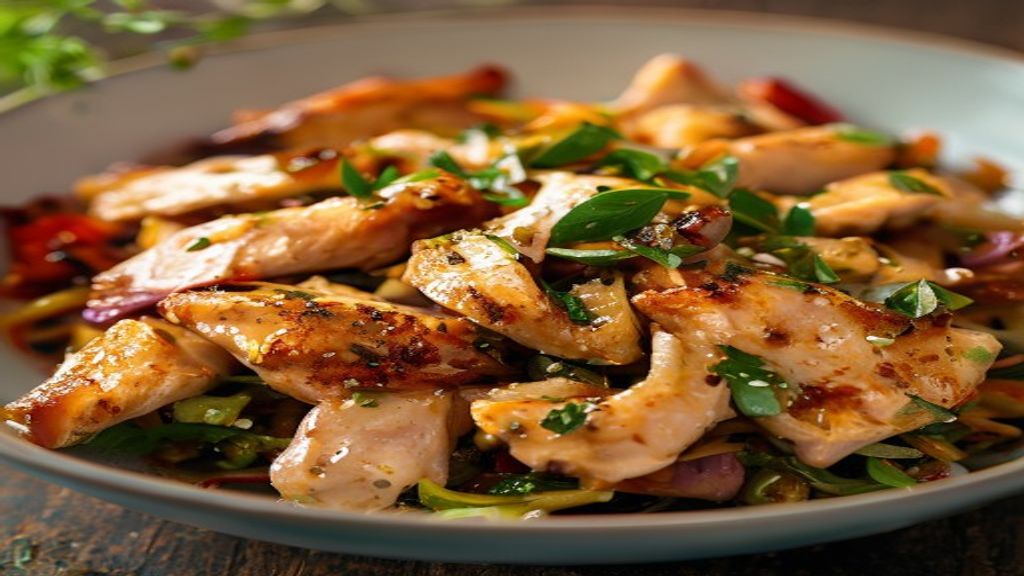
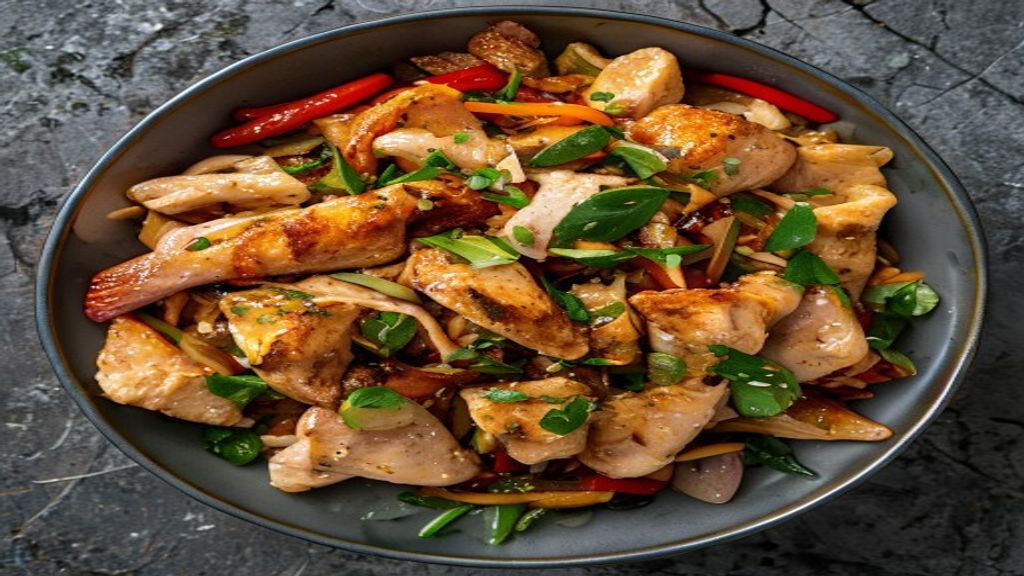
Most store-bought sauces rely on hidden sugars that ruin your blood sugar, but this version keeps things simple. By focusing on high-heat searing, the chicken pieces end up opaque throughout with a slight golden sear on the edges. You can serve this over cauliflower rice to keep the meal light. The vegetables stay crisp-tender and vibrant, providing a satisfying crunch that makes you forget you’re skipping the takeout menu.
Ingredients
I always grab organic, air-chilled chicken breasts because they don’t release that weird, milky liquid that ruins the sear.
The Protein and Produce
- 1.5 lbs boneless, skinless chicken breast, cut into 1-inch cubes
- 2 cups broccoli florets
- 1 cup sliced bell peppers
- 1 cup snap peas
The Aromatics and Sauce
- 2 tablespoons avocado oil
- 3 tablespoons low-sodium soy sauce
- 1 tablespoon rice vinegar
- 1 teaspoon toasted sesame oil
- 2 cloves garlic, minced
- 1 teaspoon fresh ginger, grated
Before You Start
This diabetic friendly chicken stir fry recipe relies on fresh aromatics to carry the flavor, so don’t reach for the jarred stuff. If you’re out of avocado oil, grapeseed oil works fine since it handles high heat well. Avoid olive oil here; it burns too quickly and leaves a bitter aftertaste. You can swap the snap peas for green beans if you prefer, but keep in mind they need an extra minute in the pan to soften. If you need to manage your blood sugar levels, keeping the veggies crisp-tender is a smart move. Just remember that the natural sweetness of the peppers is all you need, so don’t be tempted to add sugar.
How to Prepare This Quick Chicken Stir-Fry
Prep: 15 mins · Cook: 10 mins · Total: 25 mins · Serves: 4
Step 1: Prep the ingredients
Grab a large wok or a wide, heavy-bottomed skillet. You need plenty of surface area here, as crowding the pan is the quickest way to end up with steamed, rubbery meat instead of a nice sear. Keep your chicken cubes uniform in size so they cook at the same rate. While you work, you’ll see the broccoli florets turn a bright, vivid green as you chop them into bite-sized pieces.
Step 2: Heat the pan
Wait until the oil shimmers and starts to move easily across the bottom of the pan. If you drop a tiny piece of chicken in and it doesn’t sizzle immediately, it’s not ready yet. Patience is key here; you want that pan screaming hot so the chicken develops a golden-brown crust the second it hits the metal. This high-heat cooking technique ensures the meat stays juicy inside.
Step 3: Sear the chicken
Don’t stir the chicken for the first minute or so. Let it sit undisturbed so the bottom can brown properly. Listen for a steady, aggressive hiss as the moisture evaporates and the protein begins to caramelize. Once the edges look golden and the meat is mostly opaque, remove it from the pan and set it aside on a plate.
Step 4: Sauté the vegetables
Keep the heat high. Stir the vegetables constantly so they char slightly without turning soft or mushy. You want them to retain a firm, crisp-tender bite. They should look glossy and vibrant, showing off their natural colors against the dark, seasoned surface of the pan.
Step 5: Combine and finish
Lowering the heat is vital because minced garlic and ginger burn in seconds if the pan is too hot. As you pour the soy sauce, vinegar, and sesame oil mixture over the ingredients, the liquid will bubble and reduce into a thin, savory glaze. You will feel the steam rise, carrying a sharp, earthy scent that signals the flavors are melding together.
Step 6: Check for doneness
Use a meat thermometer to ensure the thickest piece of chicken has reached an internal temperature of 165°F. The sauce should cling to the chicken and vegetables, leaving a light, savory coating rather than a pool of liquid at the bottom of the pan. If the chicken is opaque throughout and the vegetables still have a snap, you’ve nailed it.
Troubleshooting
| Problem | Cause | Solution |
|---|---|---|
| Vegetables are limp | Overcrowding the pan | Cook in two smaller batches |
| Chicken is rubbery | Pan wasn’t hot enough | Wait for the oil to shimmer |
| Garlic tastes bitter | Burned during high heat | Add it only after lowering heat |
Tips for Getting It Right
Important tip: Always pat your chicken cubes dry with a paper towel before they hit the pan. If the meat is wet, it will steam rather than sear, which ruins that nice golden crust you’re aiming for.
Don’t be tempted to add all your vegetables at once. Broccoli takes longer to soften than bell peppers, so give the broccoli a head start in the pan for a minute before tossing in the rest. This simple vegetable prep ensures everything finishes at the same time.
Variations Worth Trying
If you want a bit more heat, you can toss in some red pepper flakes right at the end when you add the soy sauce and vinegar. Just be careful not to add them too early, or they’ll burn and turn the air in your kitchen quite spicy.
You can also swap the broccoli for extra snap peas if you prefer a different crunch. Since both vegetables are sturdy, they hold up well to the high-heat cooking method without losing their vibrant color or texture.
Frequently Asked Questions
Is chicken stir fry good for diabetics?
Yes, this meal is a solid choice because it focuses on lean protein and fiber-rich vegetables. By skipping sugary bottled sauces and heavy starches, you keep your blood sugar levels much more stable after eating.
How do you make a low carb stir fry sauce?
You don’t need thickeners to get a great result. By using a mix of soy sauce, rice vinegar, and toasted sesame oil, you create a savory base that concentrates into a glaze as it reduces in the hot pan.
What vegetables are best for a diabetic stir fry?
Broccoli, bell peppers, and snap peas are excellent because they are low in carbohydrates and high in fiber. They also maintain a satisfying crunch even after a quick sear, which makes the meal feel more substantial.
Can diabetics eat rice with chicken stir fry?
While many people pair this with rice, it’s often better to skip it or use a small portion of cauliflower rice instead. If you do choose to include a grain, keep the serving size small to manage your carb intake effectively.
This version focuses on a homemade, sugar-free sauce that avoids the hidden cornstarch and sweeteners found in bottled stir-fry sauces.
Main Ingredients
- 1.5 lbs boneless, skinless chicken breast, cut into 1-inch cubes
- 2 cups broccoli florets
- 1 cup snap peas
- 1 teaspoon fresh ginger, grated
Seasonings & Extras
- 1 cup sliced bell peppers
- 2 tablespoons avocado oil
- 3 tablespoons low-sodium soy sauce
- 1 tablespoon rice vinegar
- 1 teaspoon toasted sesame oil
- 2 cloves garlic, minced
- Step 1: Cut the chicken into 1-inch cubes, chop the vegetables, and whisk the sauce ingredients together in a small bowl.
- Step 2: Place your wok or skillet over high heat and add one tablespoon of avocado oil.
- Step 3: Add the chicken to the hot pan in a single layer and cook until golden on the edges.
- Step 4: Add the remaining oil to the pan and toss in the broccoli, peppers, and snap peas.
- Step 5: Return the chicken to the pan, lower the heat, and stir in the garlic, ginger, and sauce mixture.
- Step 6: Verify the chicken is cooked through and serve immediately.