Remember that first bite? The satisfying crackle as your teeth break through a perfectly seasoned crust, followed by the rush of juicy, tender meat. It’s more than just food; it’s a memory.
It’s the taste of summer picnics, family gatherings, and late-night cravings. This guide isn’t just about a recipe; it’s about reclaiming that feeling.
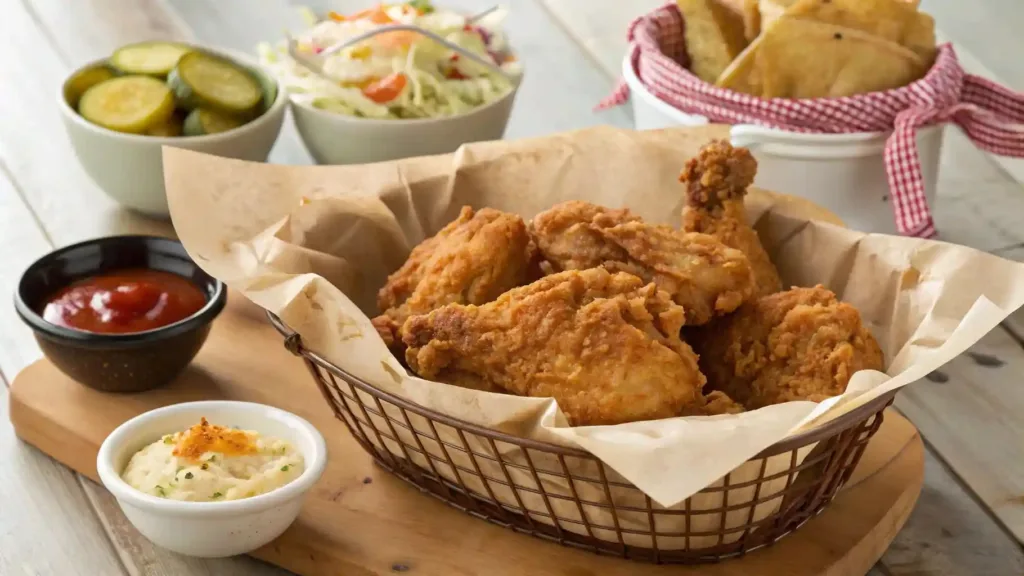
We’re going on a journey to unlock the secrets behind the most mouthwatering crispy fried chicken you’ve ever tasted, empowering you to create those unforgettable moments right in your own kitchen.
You’ll find out how to take chicken from your pantry and turn it into a magnificent golden-brown masterpiece. You can make restaurant-quality crispy fried chicken right at home.
The Foundation of Flavor: Mastering the Marinade
Before you can achieve that sought-after crunch, you must first focus on the inside—the succulent, tender heart of your chicken. This is where the magic of the marinade comes in. Think of it as a flavor passport for your poultry, ensuring every single morsel is infused with taste and moisture.
Why a Marinade is a Must for Juicy Fried Chicken
A marinade is far more than just a liquid bath for your chicken; it’s a scientific marvel. You see, the process of marinating works on two key principles: tenderizing and flavoring. The acidity in a proper marinade, such as the kind found in buttermilk, works to gently break down the protein fibers in the chicken.
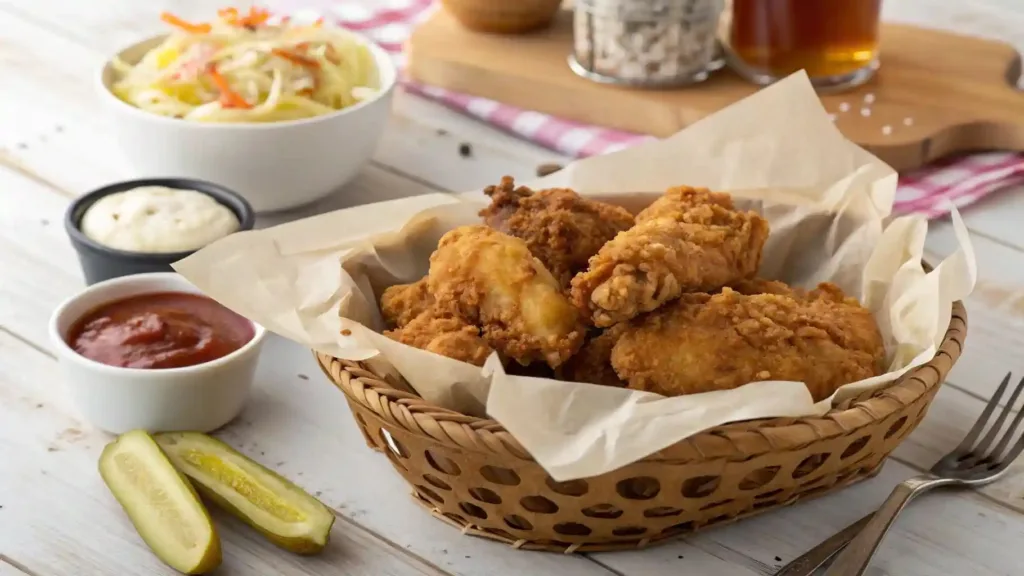
This doesn’t just make the meat more tender; it also creates tiny pockets that can absorb all the delightful flavors you’ve added. Without this essential step, your chicken is likely to come out dry and bland, no matter how much you season the coating. You’ll be left with a beautiful crust but a disappointing center. A proper soak ensures that the flavor goes bone-deep.
The Buttermilk Brine: Our Top Secret for Tender & Crispy Fried Chicken
When it comes to marinades, there’s one that stands head and shoulders above the rest: the buttermilk brine. The slightly acidic nature of buttermilk is a natural tenderizer that helps to keep the chicken moist as it cooks. It also contributes to that signature tangy flavor that makes fried chicken so irresistible. Here’s a simple recipe you can start with:
- 1 cup of buttermilk: This is the star of the show.
- 1 tablespoon of salt: Essential for seasoning and moisture retention.
- 1 teaspoon of black pepper: Adds a hint of spice.
- 1 teaspoon of garlic powder: Provides a savory depth.
- 1 teaspoon of onion powder: Rounds out the aromatic profile.
- 1/2 teaspoon of paprika: For a touch of color and subtle sweetness.
You can customize this basic recipe to your liking. Feel free to add a splash of hot sauce for a fiery kick, some herbs like thyme or rosemary for an earthy note, or even a pinch of cayenne pepper if you enjoy a little heat. Submerge your chicken in this mixture, cover it, and let it rest in the refrigerator for a minimum of 4 hours, though an overnight soak will yield the best results.
The Art of the Perfect Dredge: Achieving Unbeatable Crispiness
Once your chicken is beautifully marinated and ready to go, the next crucial step is creating the perfect coating. This isn’t just a simple dusting of flour; it’s a carefully crafted mixture designed for maximum crunch.
The Flour Power: The Secret to that Golden Crust
The secret to a truly outstanding crust lies in the composition of your dredging flour. While all-purpose flour is the base, it’s what you add to it that makes all the difference. A simple, effective blend consists of:
- 2 cups of all-purpose flour: The foundational element.
- 1/2 cup of cornstarch: This is your secret weapon. Cornstarch helps reduce gluten formation in the flour, resulting in a lighter, airier, and significantly crispier coating. It also helps the coating adhere to the chicken better.
- 1 tablespoon of salt: Crucial for seasoning the crust itself.
- 1 tablespoon of black pepper: For flavor.
- 1 tablespoon of paprika: Adds warmth and a beautiful golden hue.
- 1 teaspoon of garlic powder: For an extra layer of savory flavor.
- 1 teaspoon of onion powder: To complement the garlic.
- 1/2 teaspoon of cayenne pepper (optional): For a spicy kick.
Whisk all these dry ingredients together thoroughly in a large bowl. Your goal is to create a mixture that is both flavorful and capable of delivering that satisfying crunch.
The Double Dip: A Game-Changer for Crispy Fried Chicken
This technique is what separates the novices from the pros. It’s a simple, yet highly effective method for creating a thick, craggy crust with plenty of surface area for ultimate crunch. Here’s how you do it:
- Remove a piece of marinated chicken from the buttermilk, letting any excess liquid drip off.
- Coat the chicken generously in your flour mixture. Press the flour onto the chicken firmly, making sure every surface is covered.
- Dip the floured chicken back into the buttermilk for just a moment. Don’t let it soak; you just want to get it wet.
- Dredge the chicken a second time in the flour mixture. This is where you’ll see those beautiful crags and ridges forming. Press the flour on again, ensuring the coating is thick and even.
- Place the double-dipped chicken on a wire rack to rest for about 10 minutes. This allows the coating to set, which prevents it from falling off in the hot oil.
Following these steps will ensure your crispy fried chicken has a coating that is as delicious as it is aesthetically pleasing.
The Frying Finale: Technique, Temperature, and Timing
You’ve marinated, you’ve dredged, and now it’s time for the final act. Frying can seem intimidating, but with the right technique, you’ll achieve perfect results every single time.
The Right Oil for the Perfect Fry
The type of oil you use is critical. You need an oil with a high smoke point, which means it can be heated to a high temperature without burning and turning bitter. The best options are:
- Peanut oil: A favorite for its high smoke point and neutral flavor.
- Canola oil: Widely available and a great all-purpose choice.
- Vegetable oil: Another reliable, neutral-flavored option.
You’ll need enough oil to submerge your chicken at least halfway. A heavy-bottomed pot or a Dutch oven works perfectly for this.
Temperature Control is Everything for Perfectly Cooked Fried Chicken
This is arguably the most important step in the entire process. If your oil is too cold, the coating will become soggy and greasy. If it’s too hot, the outside will burn before the inside has a chance to cook through. The sweet spot is between 325°F and 350°F (160°C and 175°C).
- Use a thermometer: Don’t guess. An accurate thermometer is your best friend here.
- Preheat the oil slowly: Give the oil time to heat up to the correct temperature.
- Maintain the temperature: Be prepared to adjust your heat throughout the cooking process. Adding chicken will cause the temperature to drop, so you’ll need to increase the heat briefly to bring it back up.
Frying the Chicken to Golden-Brown Perfection
With your oil at the correct temperature, you’re ready to fry.
- Gently place the chicken pieces into the hot oil, skin side down first. Work in batches to avoid overcrowding the pot, which will cause the oil temperature to drop too much.
- Fry for 6-8 minutes per side, depending on the size of the piece. You’re looking for a beautiful, deep golden-brown color.
- Use tongs to turn the chicken to ensure even cooking on all sides.
- Check for doneness: The most reliable way to know if your chicken is cooked is with an instant-read thermometer. The internal temperature should be 165°F (74°C).
- Remove the chicken from the oil and place it on a wire rack set over a baking sheet. This allows air to circulate, keeping the bottom from getting soggy. Don’t place it on paper towels, as this can trap steam and soften the crust.
Serving Suggestions and Delicious Pairings
Now that you’ve mastered the art of making crispy fried chicken, it’s time to complete the meal. A great piece of chicken is only as good as the company it keeps.
Classic Sides to Complement Your Crispy Fried Chicken
There’s a reason these pairings are classics; they just work.
- Creamy mashed potatoes and rich gravy: A comforting and soul-satisfying combination.
- Tangy coleslaw: The acidic crunch of the slaw provides a perfect counterpoint to the rich chicken.
- Sweet and savory cornbread: A classic Southern pairing that’s hard to beat.
- Cheesy macaroni and cheese: The ultimate comfort food side.
- Flaky biscuits: Perfect for sopping up any remaining grease and flavor.
Creative Dipping Sauces to Elevate Your Meal
Sometimes, you want to take your crispy fried chicken to the next level with a simple sauce.
- Spicy honey butter: A simple mix of melted butter, honey, and a dash of your favorite hot sauce.
- Tangy BBQ sauce: A smoky and sweet contrast to the savory crust.
- Creamy garlic aioli: A pungent and rich dipping sauce.
- Ranch dressing: A cool, herby classic that’s always a crowd-pleaser.
FAQs About Crispy Fried Chicken
Frequently Asked Questions
- How do you get a crispy fried chicken crust that stays crispy?
The key is a proper double-dredging technique and resting the chicken on a wire rack after frying. This allows air to circulate, preventing the bottom from getting soggy and trapping steam.
- What is the secret to making a flavorful crispy fried chicken?
The secret lies in a well-seasoned marinade and a generously spiced dredge. You must flavor the chicken from the inside out and the outside in.
- Can I make crispy fried chicken without a deep fryer?
Absolutely. A heavy-bottomed pot or a Dutch oven on your stovetop works just as well. Just be sure to use a thermometer to keep a close eye on your oil temperature.
Conclusion: Your Journey to Crispy Fried Chicken Mastery
From the buttermilk marinade to the final sizzle in the pan, we’ve walked through every step of creating the perfect crispy fried chicken. You’ve learned the importance of the marinade for moisture and flavor, the art of the perfect dredge for that unbeatable crunch, and the science behind the frying process.
Now it’s your turn. Armed with these techniques and a little bit of confidence, you’re ready to create a meal that will not only satisfy a craving but also create a new, cherished memory. So, get in the kitchen, put on your apron, and let the magic begin. The golden-brown perfection you’ve always dreamed of is just a few steps away.
What delicious memory will you create with your first batch of homemade crispy fried chicken? Share your journey and your successes with us below!
